

Your first Data App
This page is the shortest path from nothing to a published Data App. Each step ends with something you can see, and links to the page that covers it in full.
Before you start
Section titled “Before you start”- You need an Astrato account that can create content.
- To publish in step 5, publishing must be enabled for your environment and you need Publish permission on the app. Without it you can still build and preview. See Manage Data Apps.
- You need credentials for a data source, such as Snowflake, BigQuery or Databricks.
- The Data App Builder is in Private Preview and is off by default. If Data App is missing from the Create menu in step 4, ask your Astrato administrator or Astrato contact. To build with your own coding assistant instead, see Choose how to build.
1. Connect your data
Section titled “1. Connect your data”Open Data & AI → Data Connections, select New connection, choose your source and enter its credentials. Select Validate Connection, then Save connection.
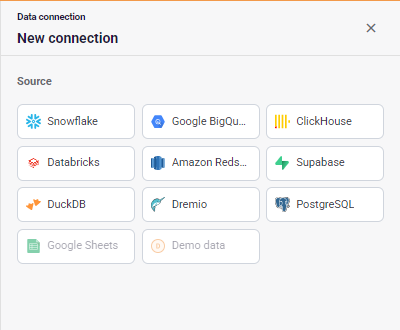
You are done when the connection appears in the Data Connections list. See Data connections.
2. Create a semantic layer
Section titled “2. Create a semantic layer”Open Data & AI → Semantic Layers, select Create, then New Semantic Layer. Choose your connection as the Datasource and select Create. The empty layer opens in the editor.
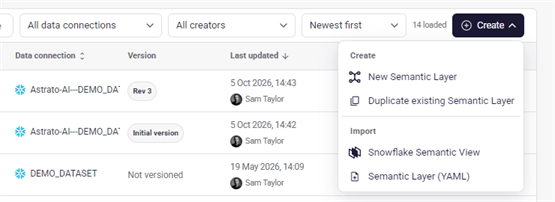
You are done when the editor opens. See Create a semantic layer.
3. Add tables, dimensions and measures
Section titled “3. Add tables, dimensions and measures”In the editor, add the tables you want, then define the dimensions and measures people will ask about. Publish the layer when you are ready: the Data App preview uses published dimensions and measures only.
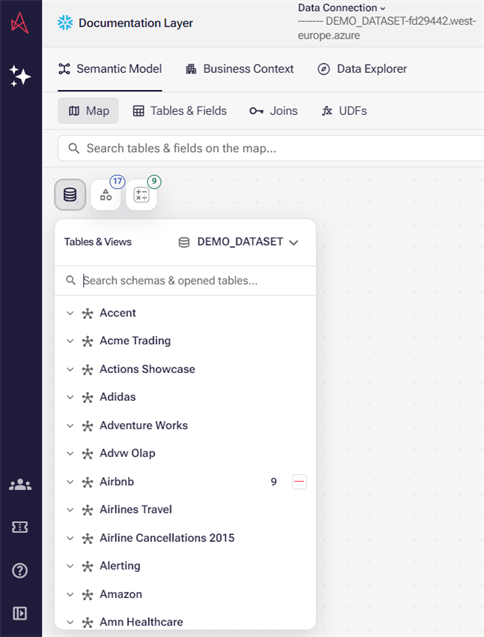
You are done when the layer is published. See Semantic layer editor and Semantic layer publishing.
4. Build an app
Section titled “4. Build an app”Both options start from the semantic layer you published in step 3. To compare them, see Choose how to build.
Build with Nash
Section titled “Build with Nash”In Analytics, select Create, then Data App. Enter a Data App name, choose your semantic layer and select Create Data App. Describe the app in the Nash panel, for example “Build a dashboard with key metrics and a chart”. The app takes shape in Preview.
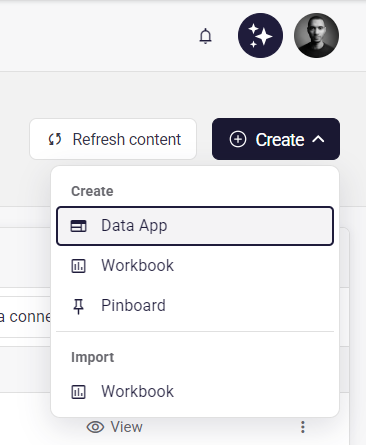
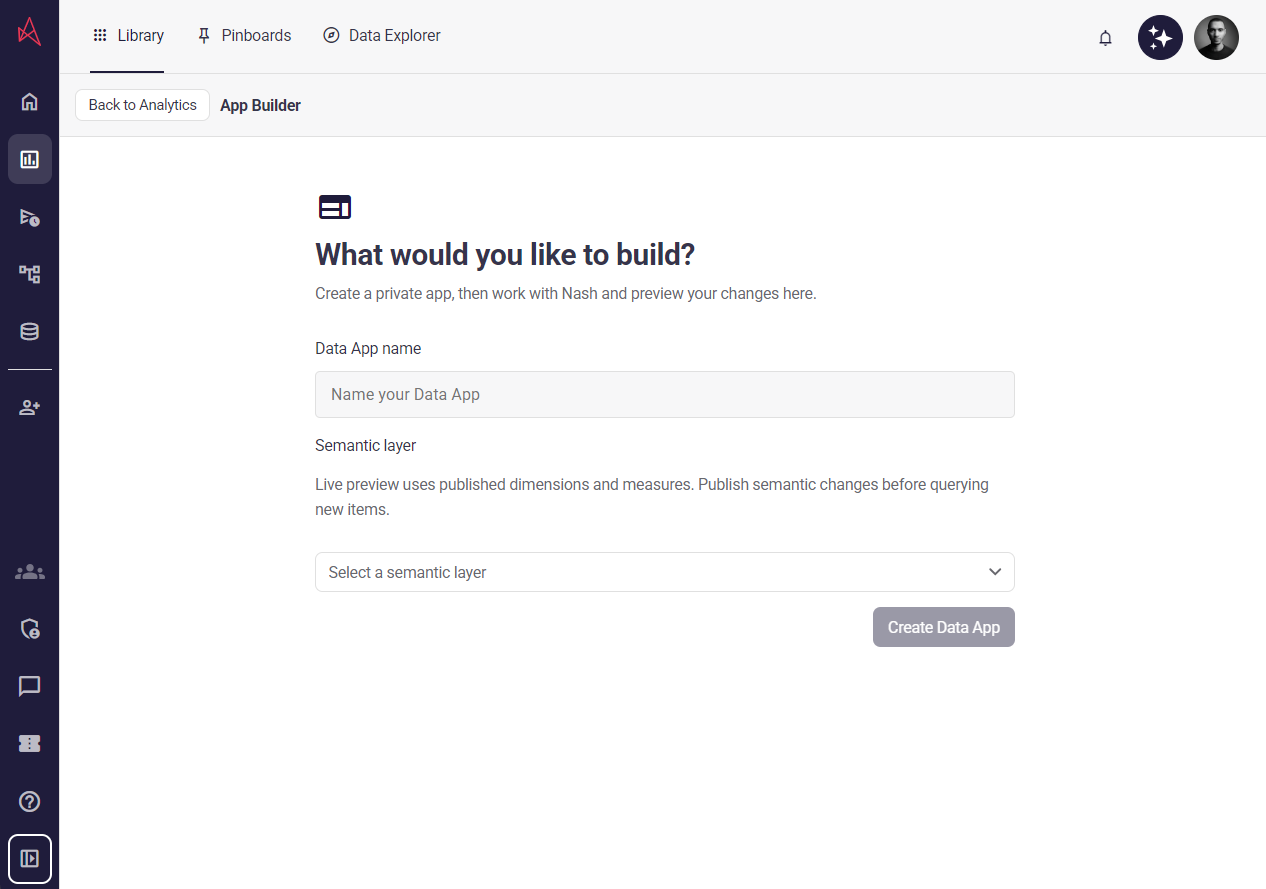
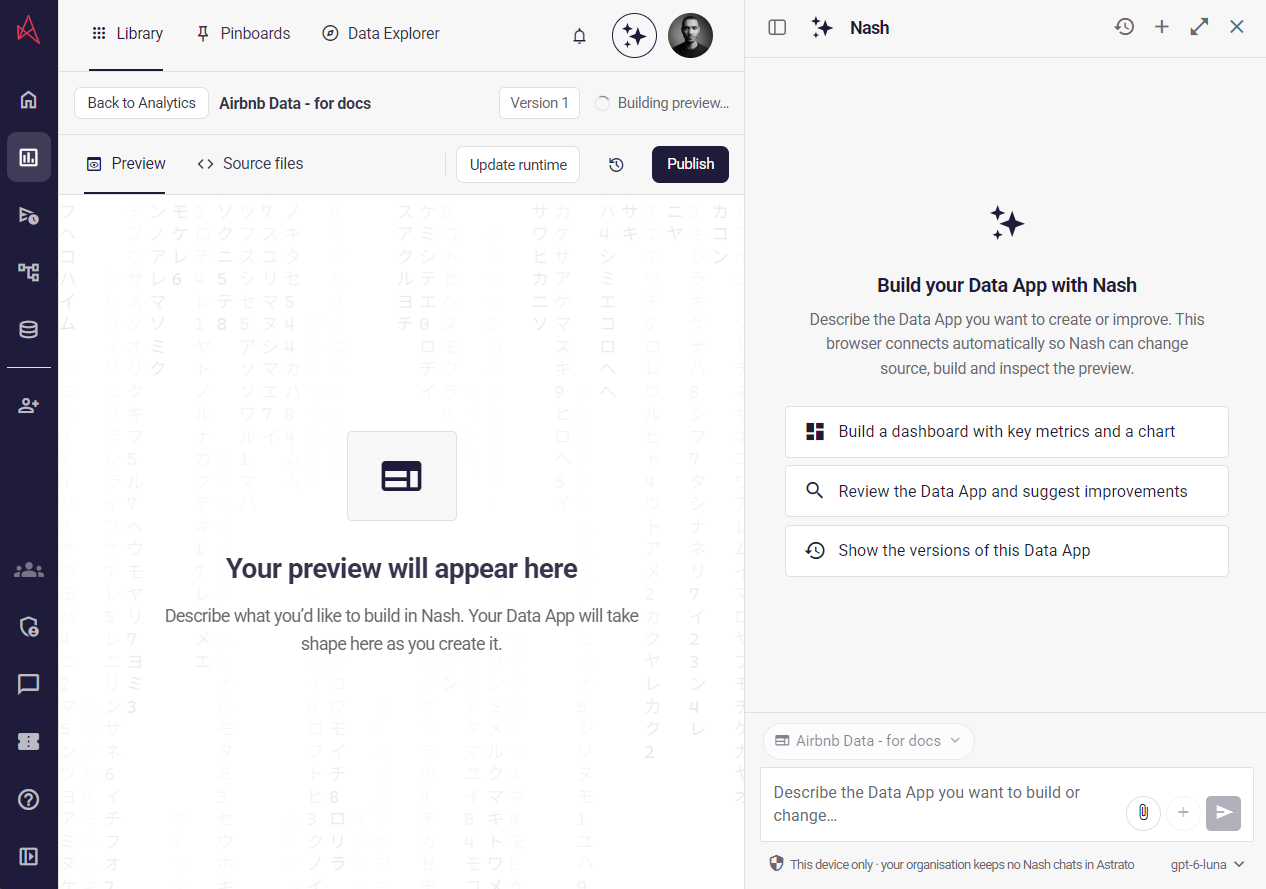
You are done when the preview shows your data. See Getting started with Data Apps.
Build with my AI assistant
Section titled “Build with my AI assistant”Connect your assistant to Astrato, then ask it to build the app from your published semantic layer. Follow Connect an AI assistant to set up the connection.
To publish an app built this way, use the CLI workflow in Data Apps - AI Assistant Quickstart. The Publish button in step 5 applies only to apps built in App Builder.
You are done when the assistant has built the app and it shows your data.
5. Publish
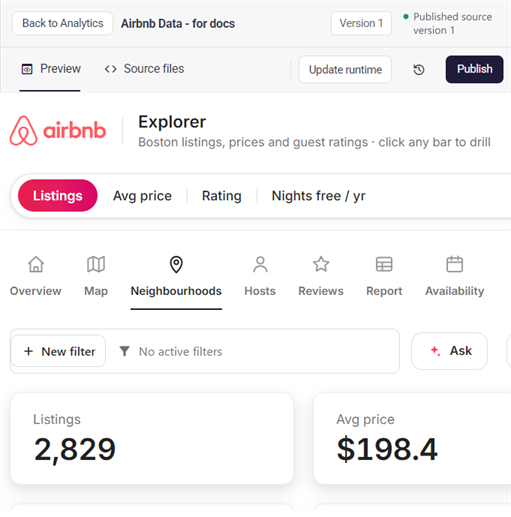
Section titled “5. Publish”When you are happy with the preview, select Publish. A new app is private until you publish it. Publishing is in preview and needs an enabled environment and publication permissions. See Manage Data Apps.
What next
Section titled “What next”- Key terms: what Astrato calls things.
- Data App developer guide: layout, charts and interactions.
- Share and govern: people, groups and sign-in.