

Creating a Workbook
Introduction
Section titled “Introduction”This article shows you how to create an Astrato workbook.
Astrato Workbooks | New Data Source | Existing Data Source | Create Workbook | Semantic Layer | Workbook Properties | Workbooks Articles
Astrato Workbooks
Section titled “Astrato Workbooks”If you want to create an Astrato workbook, you need to open the Workbooks page in the workspace (Figure 1). You can see the Create Workbook button in the right corner of the screen.
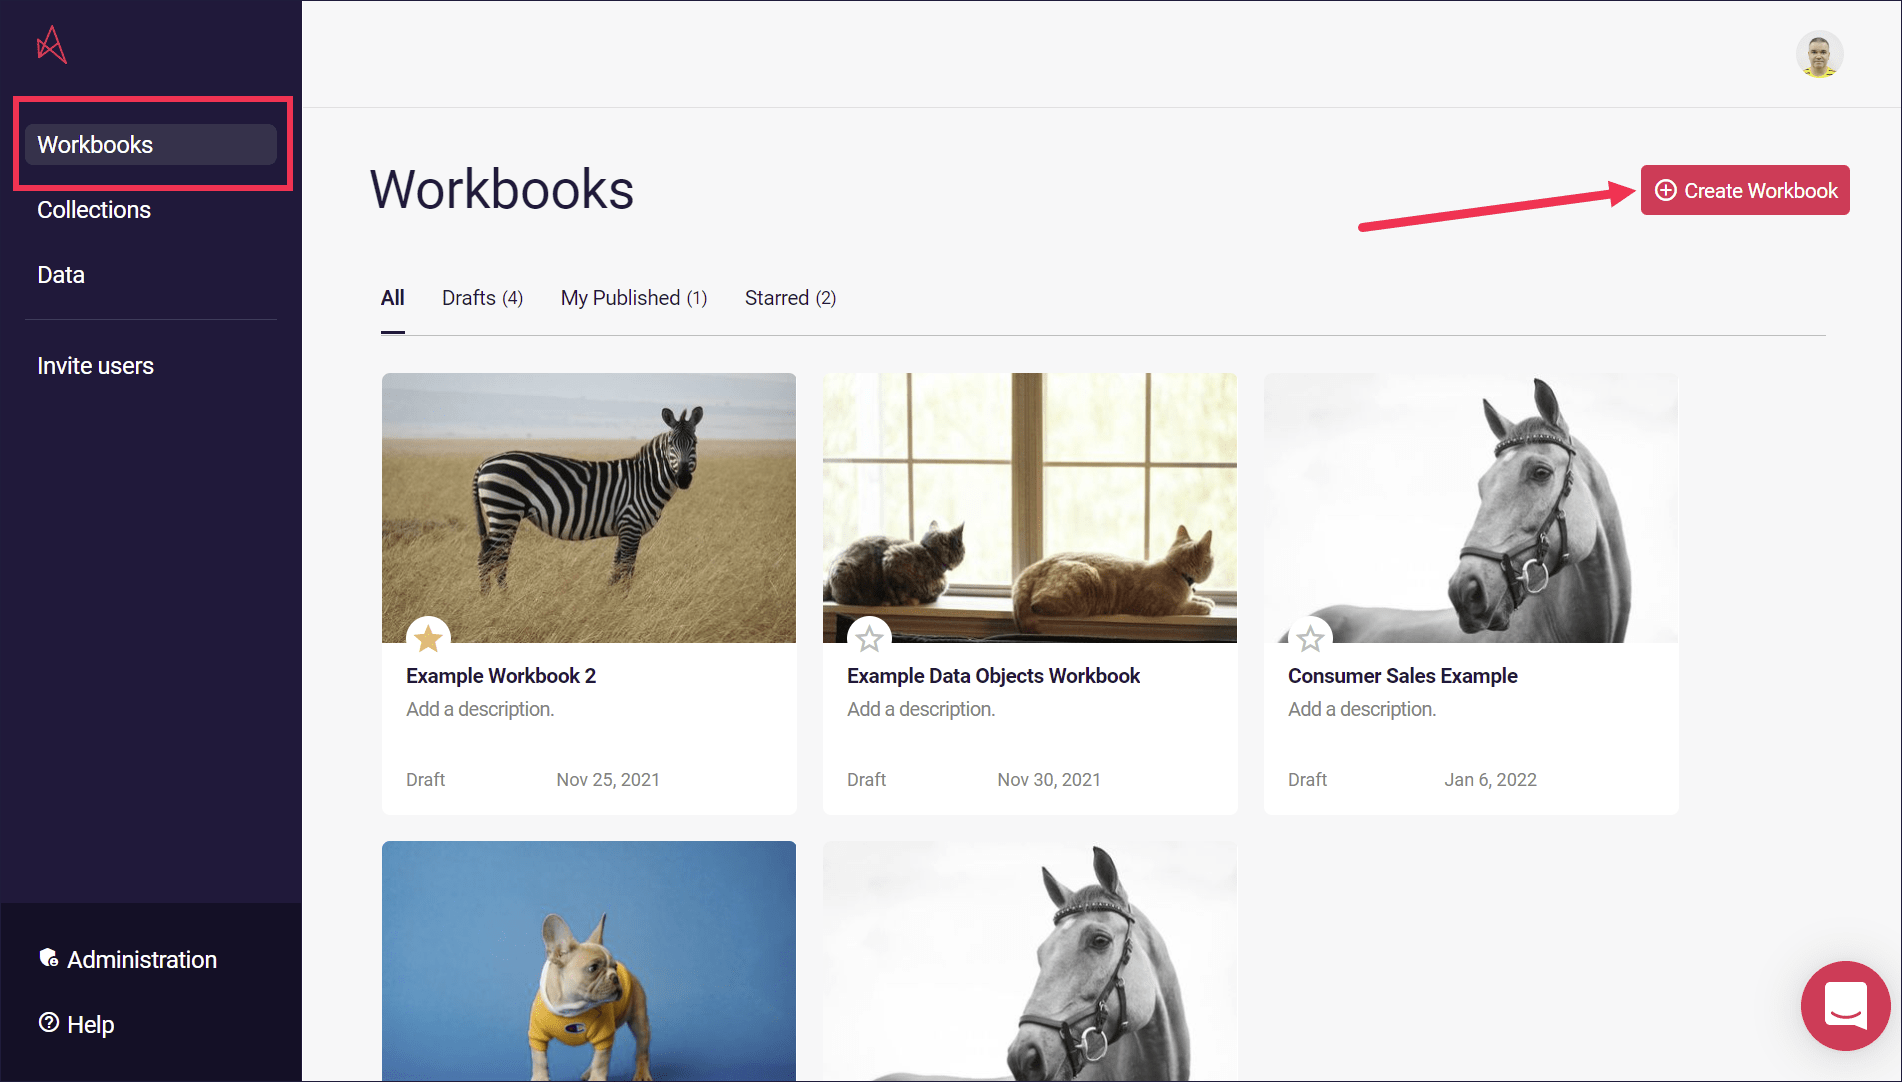
Figure 1: Workbooks
Back to Top
New Data Source
Section titled “New Data Source”If you want to create a workbook using a new data source, follow these instructions (Figure 2).
-
Click Create Workbook to open the data view page.
-
Click New Semantic Layer to open the data source list.
-
Click New Data Source in the right corner of the data source page.
-
When the data source connection screen opens, choose a connection type.
-
Follow the instructions in either the Snowflake setup guide or Google Sheets setup guide to set up your data source.
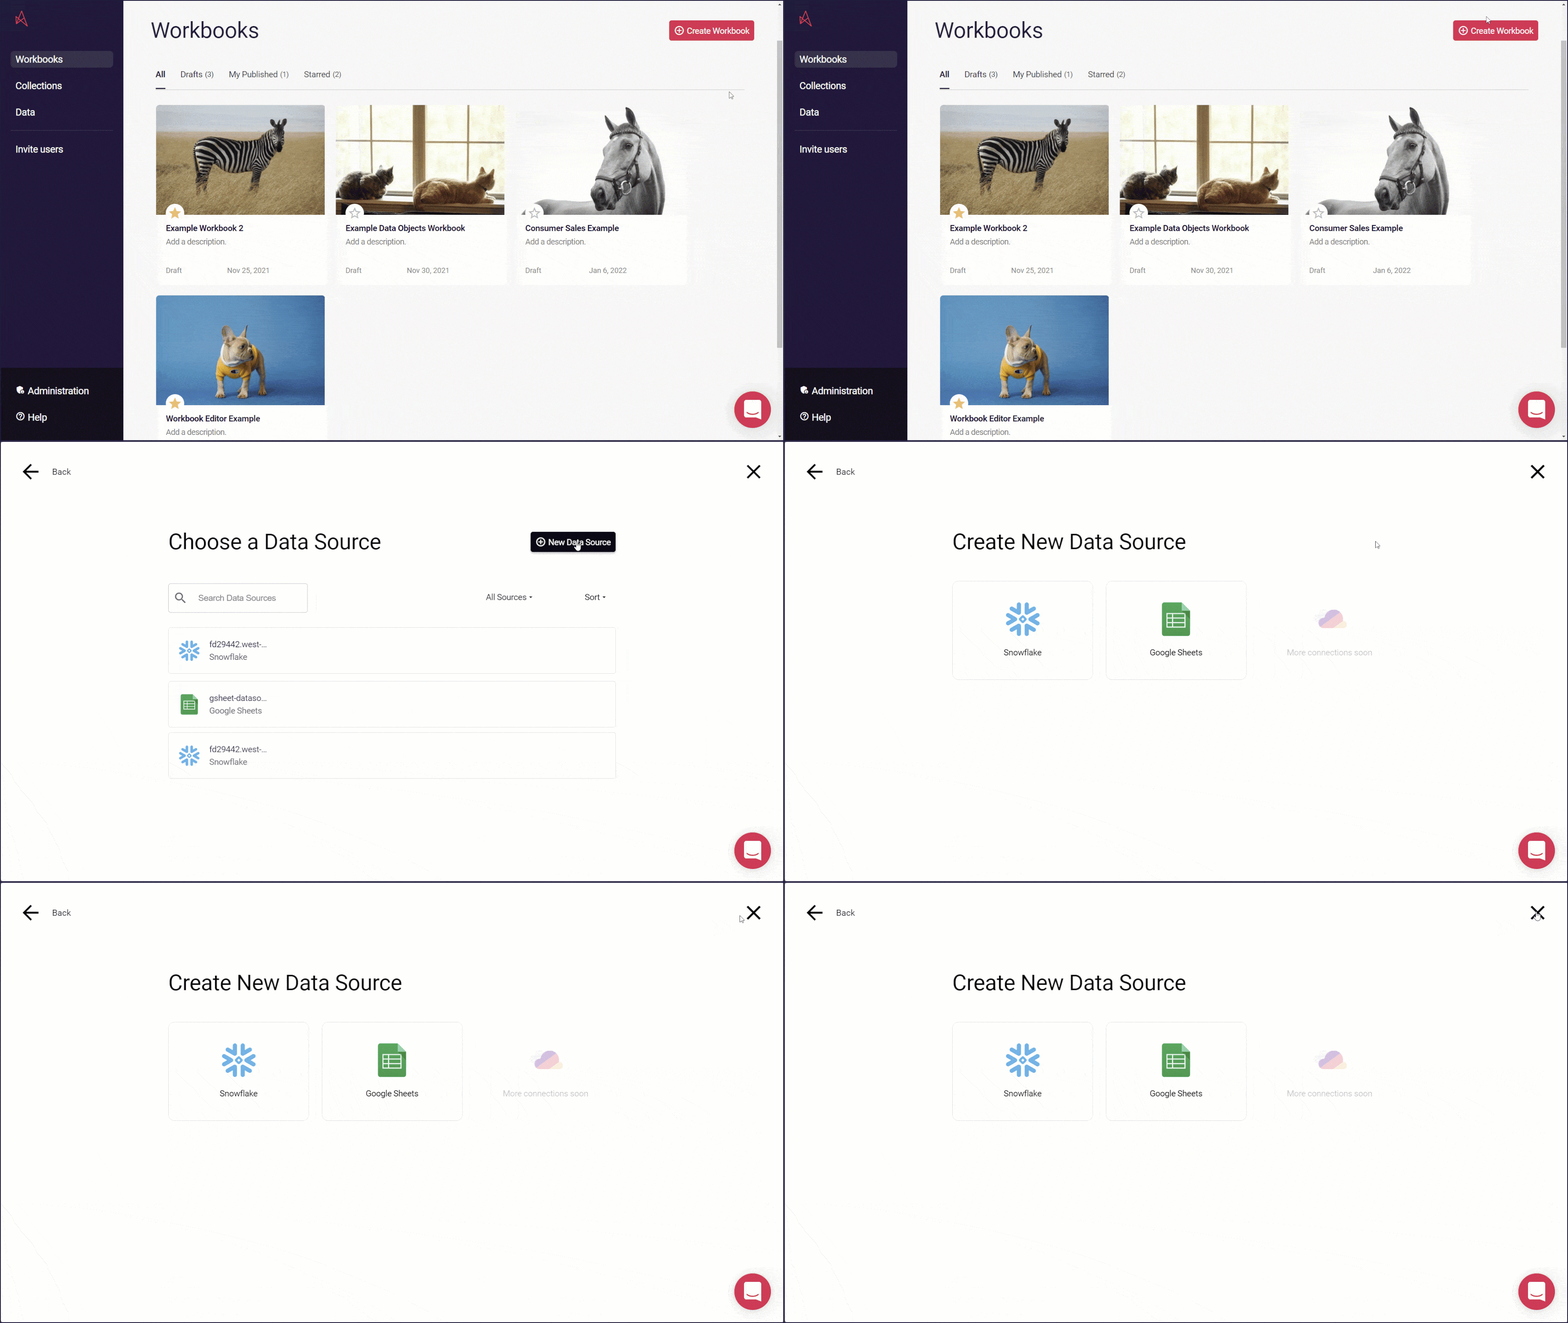
Figure 2: New Data Source
When you’ve created the data source, the Create Workbook page should open.
Back to Top
Existing Data Source
Section titled “Existing Data Source”If you want to use an existing data source to create a workbook, follow these instructions (Figure 3).
-
Click Create Workbook to open the semantic layers page.
-
Choose a semantic layer from the list.
When you’ve chosen your semantic layer, the Create Workbook page should open.
Figure 3: Existing Data Source
Back to Top
Create Workbook
Section titled “Create Workbook”In the Create Workbook page (Figure 4), you can edit the workbook name and choose a sheet layout, then click Create to complete the process and open the workbook editor.
Figure 4: Create Workbook
Back to Top
Semantic Layer
Section titled “Semantic Layer”In the workbook editor, you can open the semantic layer editor by clicking the data view name in the top left of the screen (Figure 5). When you’re in the semantic layer editor, click Back to Workbook to open the workbook editor again.
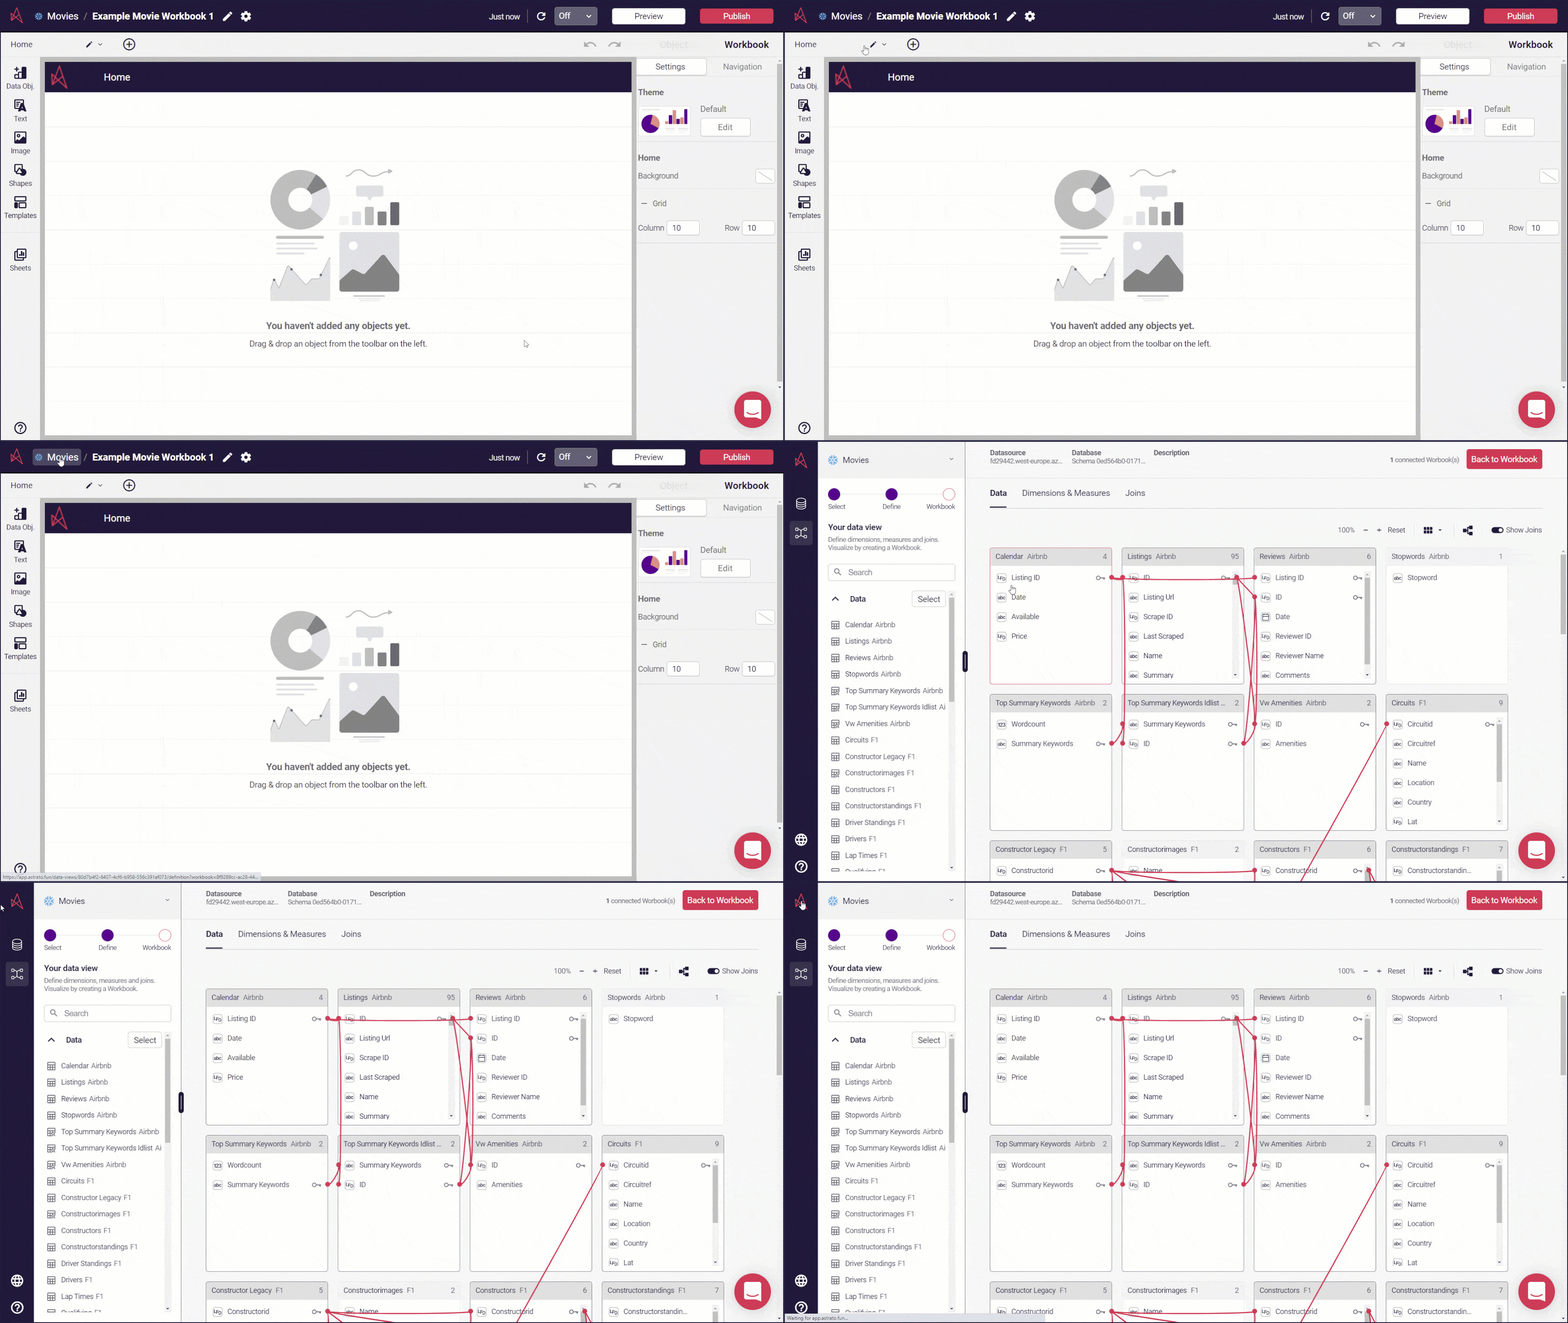
Figure 5: semantic layer
You can find instructions on managing a data view in our Semantic Layer article.
Back to Top
Workbook Settings
Section titled “Workbook Settings”You can also make changes to your workbook settings by clicking the icons beside the workbook name in the top left of the screen (Figure 6) - either to edit the workbook name or open the workbook settings screen to add a description and a cover image.
Figure 6: Workbook Settings
Back to Top
Workbooks Articles
Section titled “Workbooks Articles”You can find more articles about Astrato Workbooks in the workbooks collection at the Astrato Help Center.
Back to Top