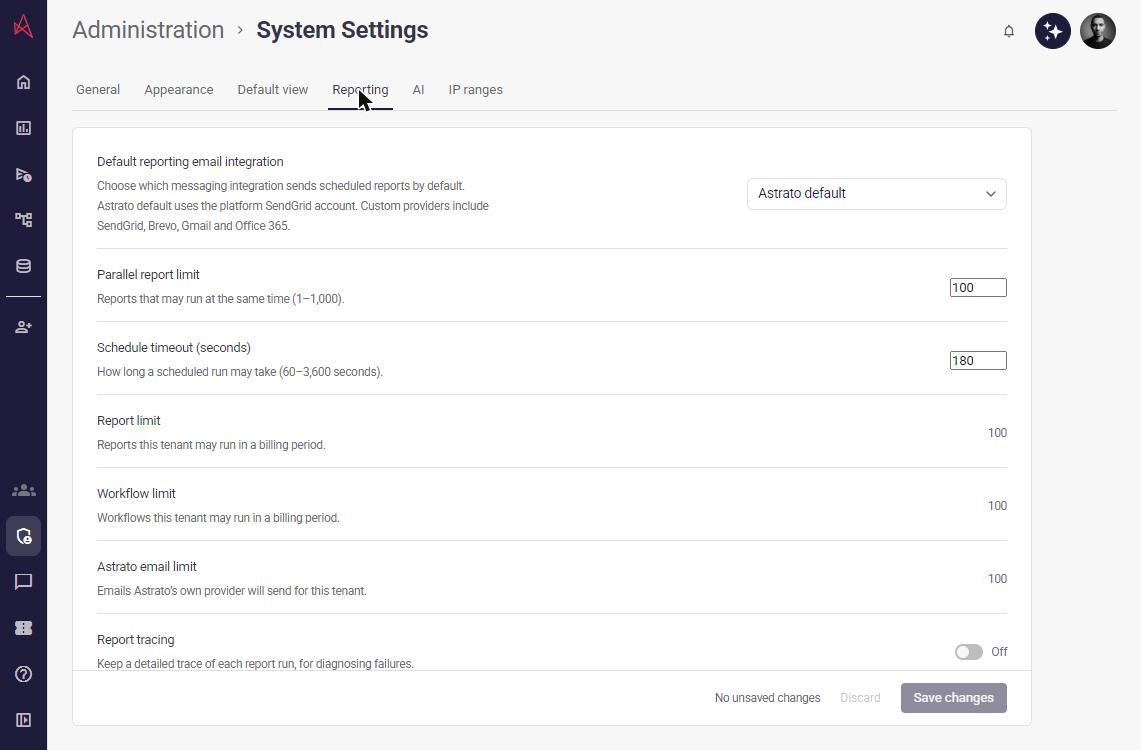
Administration - Getting Started
Using the Administration options in Astrato
Section titled “Using the Administration options in Astrato”From the lobby sidebar, click Administration to view the options linked to the administration of Astrato.
The sections available for view are linked to role type and customer level.
In the new lobby, Creators can open Users, Groups, Tenant Permission Requests, and Embed Links from Administration. Users and group membership are read-only for Creators. Permission requests and embed links retain their resource access checks. Changing user accounts, groups, assignment rules, tenant settings, or the embed domain allow list requires an Owner or Administrator.
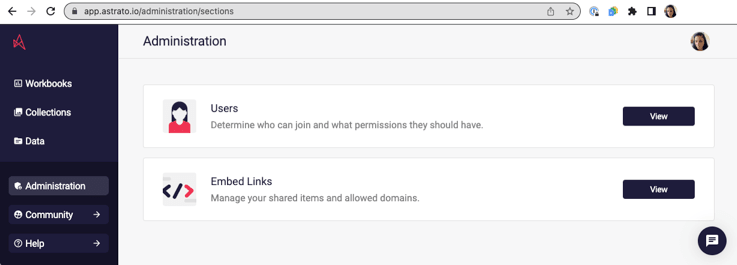
Figure 1: Administration home visible to users with Create and Viewer roles.
Please note: Users with Owner or Admin access have access to System Settings and Enterprise Connection as well.
Contents
-
-
General: Demo Data
-
Default view - Set the entry point for users by their role type
-
Enterprise-level customers
Section titled “Enterprise-level customers”This is the full options in Administration for Enterprise level customers.
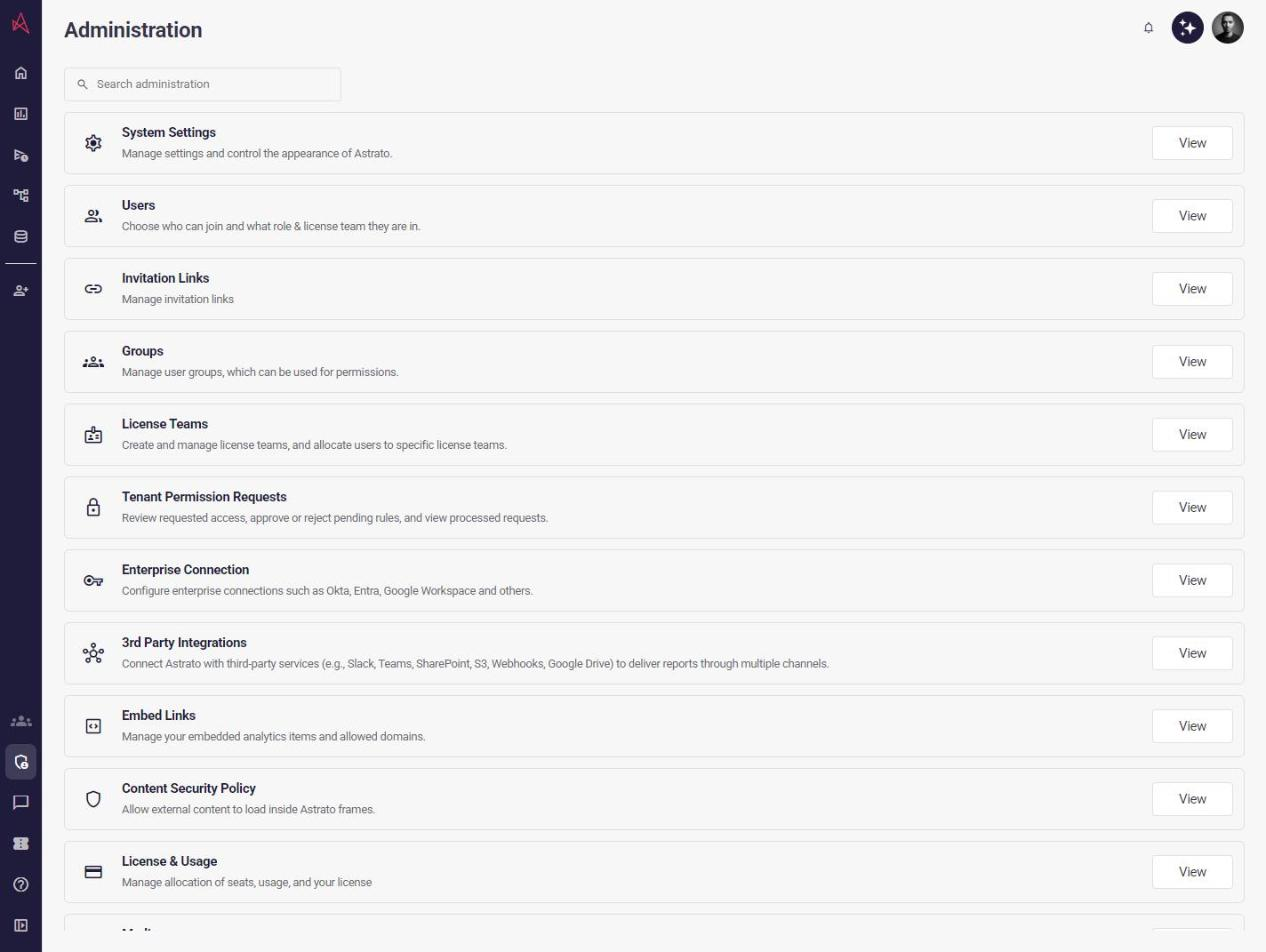
Figure 2: Administration home - Enterprise-level customers see Enterprise Connection and License and Usage
Options in the Administration section
Section titled “Options in the Administration section”General:
Appearance:
Default view:
Reporting:
AI: | |
List of all users, when their account was added, and what type of role they have in Astrato (Owner, Admin, Creator, and Viewer). | |
Invitation Links | Generate and manage invitation links for the tenant. |
Groups | Create and manage users association to groups. |
The Teams section is for Enterprise-level customers to organize their users in teams. | |
Tenant Permissions | Manage and review requesters to access data assets. |
Set up connections via Login or Access integration. | |
Create embed links to share views of your live data in other systems | |
The License & Usage section allows Enterprise-level customers to organize their users and assign them to teams, with each team assigned the most appropriate licensing model. | |
Use this area to manage media used in your Astrato tenant. | |
Export the tenant metadata: workbooks, users, objects, etc. |
Lists in the Administration section
Section titled “Lists in the Administration section”In all the Administration sections of Astrato, when there are lists, you can:
-
Filter the fields in columns (click the filter icon beside the column name).
-
Adjust how many rows per page are visible to 5, 10, 25, and 50 (change this from the bottom of the list)
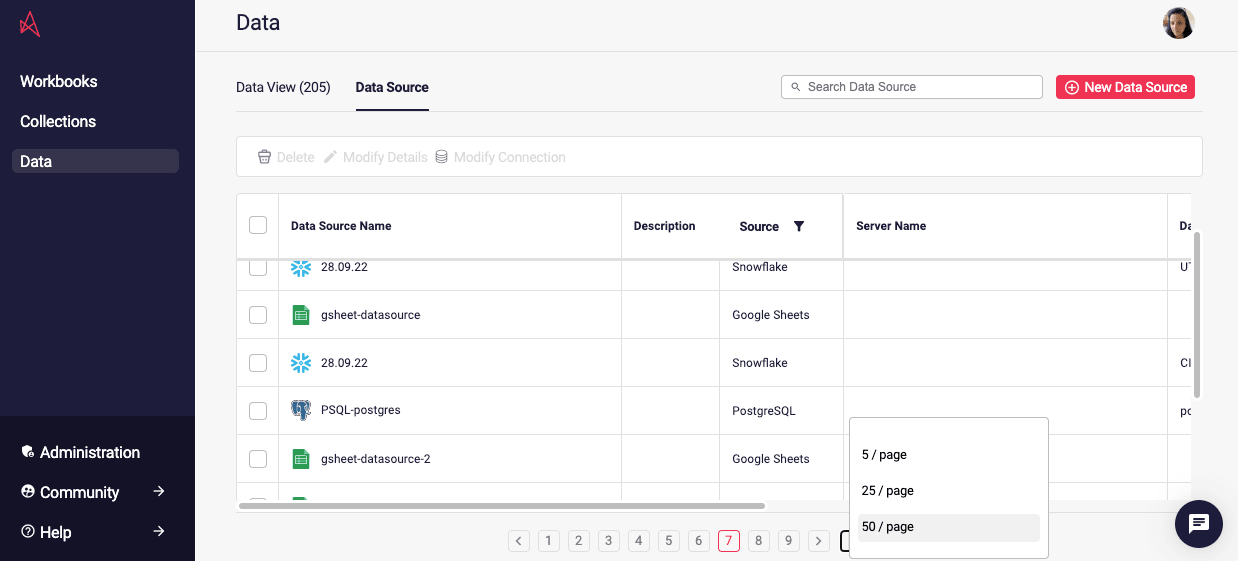
Figure 3: Change the number of rows visible in a list
System Settings
Section titled “System Settings”General: Workbook Gallery
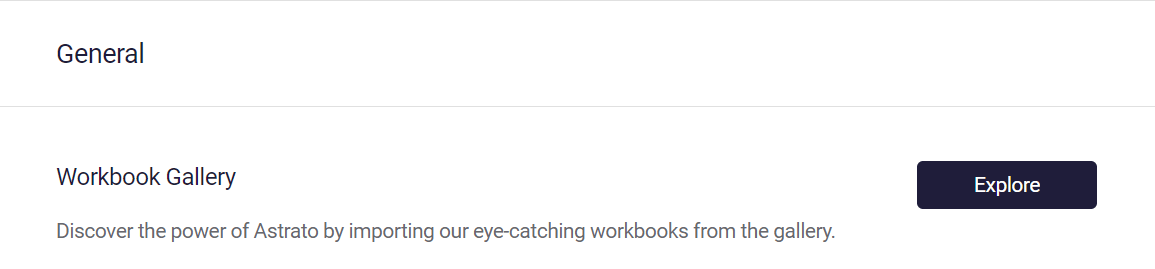
Section titled “General: Workbook Gallery”Explore the workbook gallery on the Astrato website and import workbooks to your tenant to reuse actions and designs.
General: Execute SQL Action
Section titled “General: Execute SQL Action”Slide the toggle to allow users with the Viewer role to execute custom SQL queries. A warning will appear to confirm whether you want to allow this permission to users with a Viewer role.
General: External Embed Links
Section titled “General: External Embed Links”Slide the toggle to allow users to create external embed links.
This option permits the creation of an object, group, sheet, or workbook without any authorization.
General: Enable Writeback on External Embed Links
Section titled “General: Enable Writeback on External Embed Links”Slide the toggle to allow users to enable Writeback on external embed links.
Enabling this option requires enabling the “External Embed Links” option.
General: Execute SQL Action on External Embed Links
Section titled “General: Execute SQL Action on External Embed Links”Slide the toggle to allow users to use actions on external embed links.
Enabling this option requires enabling the “External Embed Links” option.
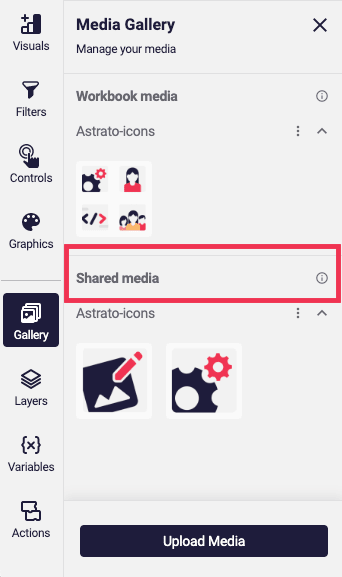
General: Creators can upload shared media
Section titled “General: Creators can upload shared media”Creators can upload shared media. Allow users with the Creator role to upload available media to other users in the list of Gallery images under the Shared media heading.
General: Allow for automated reporting on behalf of users
Section titled “General: Allow for automated reporting on behalf of users”Slide the toggle to enable the execution of automated reports without the user having to log in.
General: SCIM Provisioning
Section titled “General: SCIM Provisioning”Enabling SCIM will generate a secret token for you to use in your SCIM provider.
More details on SCIM can be found in this article.
General: Allow for automated reporting on behalf of users
Section titled “General: Allow for automated reporting on behalf of users”Slide the toggle to enable the execution of automated reports without the user having to log in.
General: Force two-factor authentication
Section titled “General: Force two-factor authentication”Force users who use a user and password to log in to Astrato to set a two-factor authentication using an authenticator app.
General: OEM API
Section titled “General: OEM API”Enabling OEM API generates a client ID and client secret keys to automate login operations for your tenant.
Appearance - Lobby theme selection and customization
Section titled “Appearance - Lobby theme selection and customization”Control and modify the whole lobby experience for users. Select a predesigned theme, adjust it to your brand colors, and add your company’s logo (hover over it, click Upload or Reset).
Click on the color in the Custom Theme area to view the color picker; you can enter color codes that are Hex, RGB, or HSL and select whether you use the white or dark font color.
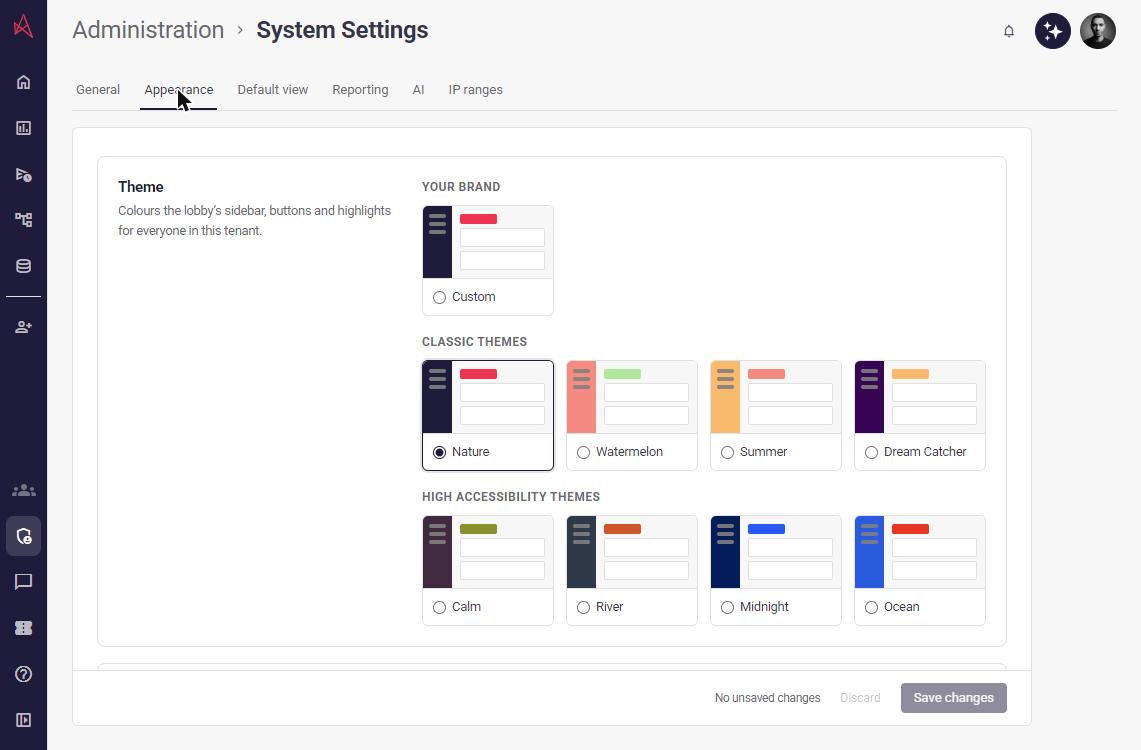
Figure 7: Astrato Lobby and appearance theme options
Back to Top
Default View - Set the entry point for users by their role type
Section titled “Default View - Set the entry point for users by their role type”An Administrator can select the area of Astrato that displays after login by user role type.
The view options are the Data, Collections, or Workbook area of Astrato. Click the radial button for each user role type from the displayed table.
An example of the use would be to have all Viewers open at the view of the list of Workbooks or Collections.
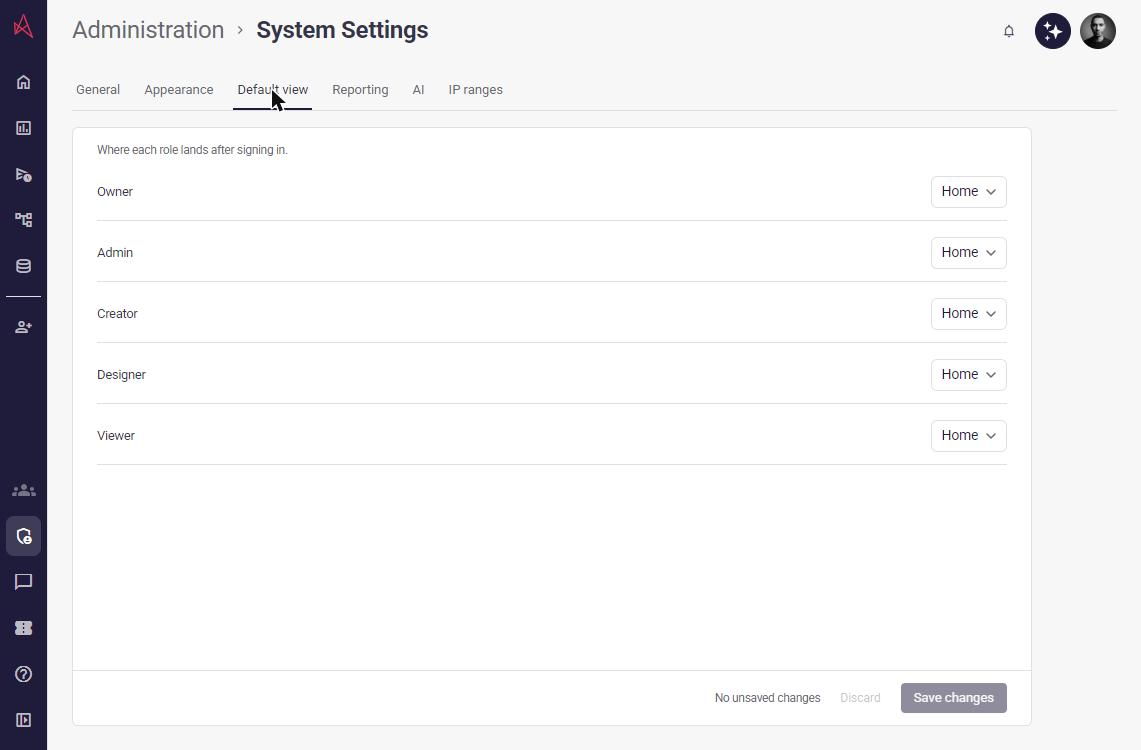
Figure 8: Click the radial button for each user role type to select their view in Astrato after logging in.
Back to Top
Reporting: Email Configuration
Section titled “Reporting: Email Configuration”Configure your email account to send Astrato’s Scheduled Reports.
Sending emails to external addresses (not an Astrato user) is only supported when setting up an Email Account with your API key.
If an Email account isn’t configured, reports will be sent using Astrato’s built-in Account.
-
SendGrid Account
Set up a SendGrid account here.
Define your SendGrid account in Astrato.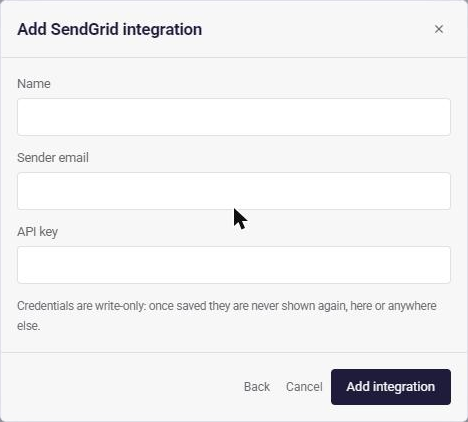
-
Brevo Account
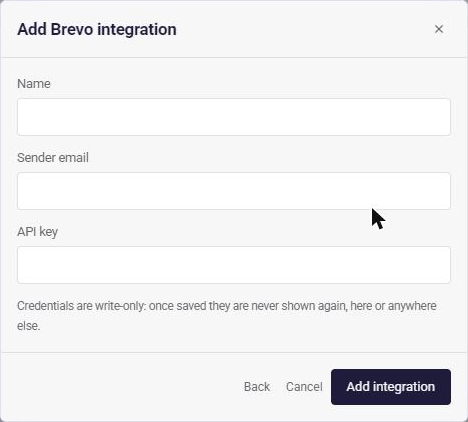
Section titled “Brevo Account”Set up a Brevo account here.
Define your Brevo account in the Email Configuration modal.
Reporting: Timeout
Section titled “Reporting: Timeout”Set the timeout for running a scheduled task.