

Manage delivery integrations
As a workspace owner or administrator, open Administration → 3rd Party Integrations. The list shows your integrations, providers and connection dates. Search by name or provider across the complete list. If the list cannot be verified, it is shown as unavailable and renaming is blocked.
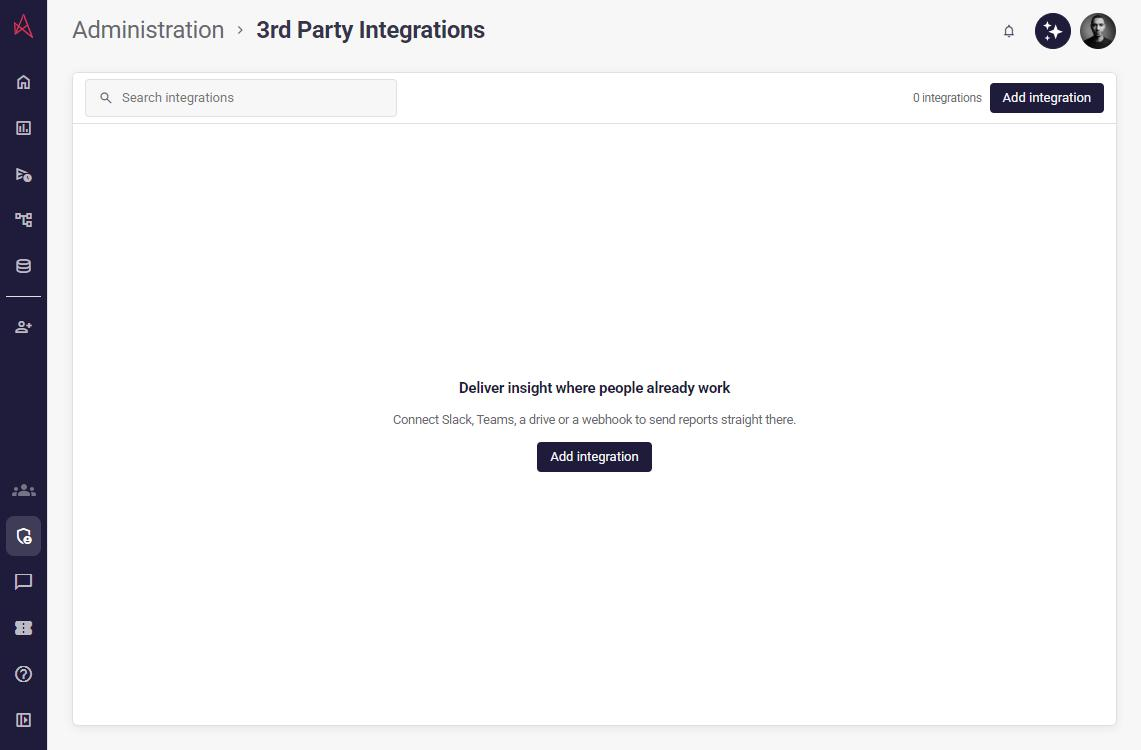
Add an integration
Section titled “Add an integration”Choose Add integration, pick a provider and fill in its details.
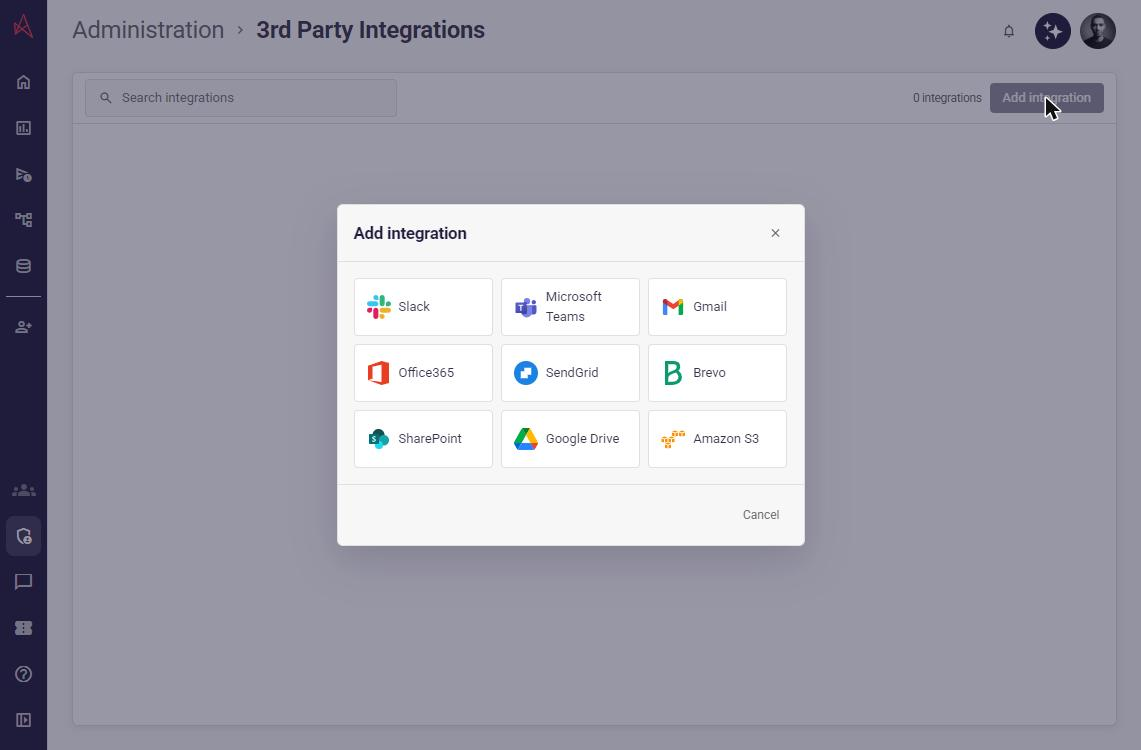
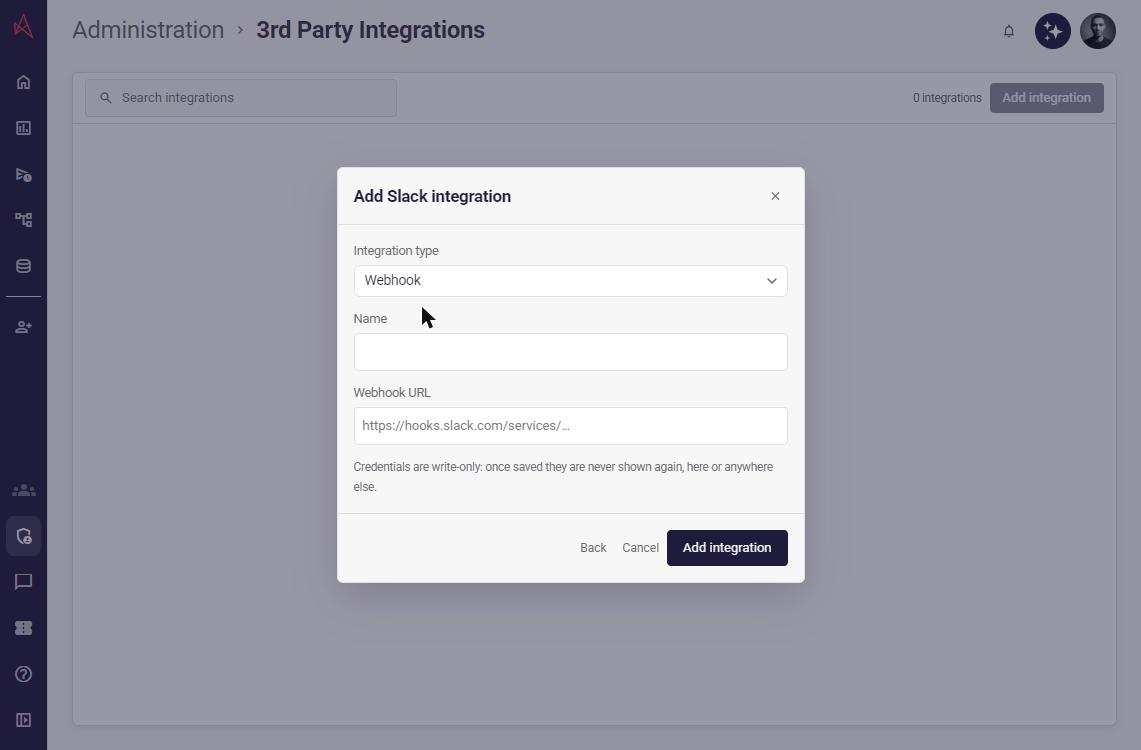
Selecting a provider replaces the provider selector with its setup form. Choose Back to return to the selector; unsaved setup details are cleared.
| Provider | Details |
|---|---|
| Slack or Microsoft Teams (webhook) | Webhook URL |
| SendGrid, Brevo | Sender email and API key |
| SharePoint | Client ID, client secret, directory (tenant) ID, site URL, document library, optional folder path |
| Google Drive | Service account JSON key, drive or folder ID, optional folder path |
| Amazon S3 | Access key ID, secret access key, region, bucket, optional endpoint for S3-compatible storage |
For Gmail, choose Redirect & Authorize, sign in to Google and approve email sending. After returning, name the integration and select Save changes. The test-email option is on by default; turn it off if you do not want a test sent to your account.
For Office365, register a Microsoft Entra application and enter its Application (client) ID
and Client secret. Choose Redirect & Authorize and approve Microsoft sign-in. After
returning, name the integration and save. You can update the application credentials before saving.
Request Microsoft 365 encrypted email handling uses your tenant’s mail flow rule for the
X-Astrato-Encryption: true header. Configure that rule before requesting encryption.
Both forms display the exact redirect URI to register: for Gmail, with the Google OAuth application used by your Astrato site; for Office365, with your Entra application. Authorization returns to this screen. Office365 credentials stay in this browser session during sign-in and are cleared when you return or cancel setup. If authorization expires or cannot be verified, start sign-in again.
If saving succeeds but the test email fails, retry the test or turn it off and choose Finish. The integration is already added; retrying does not add it again.
Slack and Microsoft Teams applications still connect in the old lobby. Select Application, then Connect Slack in the old lobby or Connect Microsoft Teams in the old lobby to open their settings in a new tab. Once connected, they appear in this list. Their webhook variants can be added directly in the new lobby.
Edit an integration
Section titled “Edit an integration”For webhook, API-key and storage providers, choose Edit to change the name or details. Credentials such as API keys, secrets, service account keys and webhook URLs are write-only: they are never shown after saving. Leave a credential field blank to keep the stored value, or enter a new value to replace it.
Integrations connected by signing in offer Rename instead. Renaming changes only the name and leaves the connection untouched. To reconnect one, remove it and connect it again.
For SendGrid, Brevo, Gmail and Office365, choose Send test to send a test email through the integration.
Remove an integration
Section titled “Remove an integration”Choose Remove and confirm. Schedules or reports delivering through that connection will stop reaching their destination. While removal is pending, that integration’s actions are unavailable. You can still manage other integrations.
Removing an integration deletes its connection from Astrato. It does not revoke a token, API key or webhook at the provider. Revoke that credential in the provider’s settings separately when needed.