

Connecting to Google BigQuery (OAuth, JWT)
Introduction
Section titled “Introduction”In this article, we’re going to show you how to connect your Astrato workspace to a data source in Google BigQuery.
Checklist
Section titled “Checklist”Before you can set up your data connection, you’ll need the following:
-
Data connection: project and dataset names.
-
User account: Enter your username and password when asked. If you are using a Google account, when you log in, Google will prompt you to consent to Astrato accessing your Google Workspace.
-
Any user who uses the connection needs these permissions in BigQuery:
-
bigquery.jobs.createThis permission allows creating and running query jobs on the project level. It is included in predefined roles such as BigQuery Job User. -
bigquery.tables.getData Permission on all tables and views referenced in the query grants read access to the data in those tables and views. It is included in the BigQuery Data Viewer role.
-
-
If using Service account authentication (JWT), you’ll need the JSON key you’ve created.
How to set necessary permissions in BigQuery
Section titled “How to set necessary permissions in BigQuery”The best way is to use a Google Cloud service account to log in and make a safe connection to BigQuery.
Create a Service Account
Section titled “Create a Service Account”-
In the Google Cloud Console, navigate to the project where your BigQuery instance is located.
-
Go to IAM & Admin → Service Accounts, then click Create Service Account.
Could not display content
-
Click the Create and Continue button under the 1-step section to proceed with the service account setup.
-
Grant the service account the following minimum set of permissions:
-
BigQuery Connection Service Agent
-
BigQuery Data Viewer
-
BigQuery Job User
-
Could not display content
Click Done to complete the setup.
Creating a data connection to Google BigQuery
Section titled “Creating a data connection to Google BigQuery”- Select Data & AI in the Astrato sidebar and go to the Data Connections tab. Click New connection to open the list of available sources, then select Google BigQuery.
Could not display content
- Under Authentication, choose an authentication method: Sign in with Google BigQuery (OAuth) or Service account (JWT).
Could not display content
OAuth - Allow Astrato permission to access external data
Section titled “OAuth - Allow Astrato permission to access external data”You can use the default OAuth connection that your workspace provides or define your own.
Could not display content
- Under OAuth connection, choose the OAuth connection to use. The panel then shows whether you have already authorized it.
Could not display content
-
If the panel says “Already authorized. You can validate the connection directly.”, go on to enter the project and dataset.
-
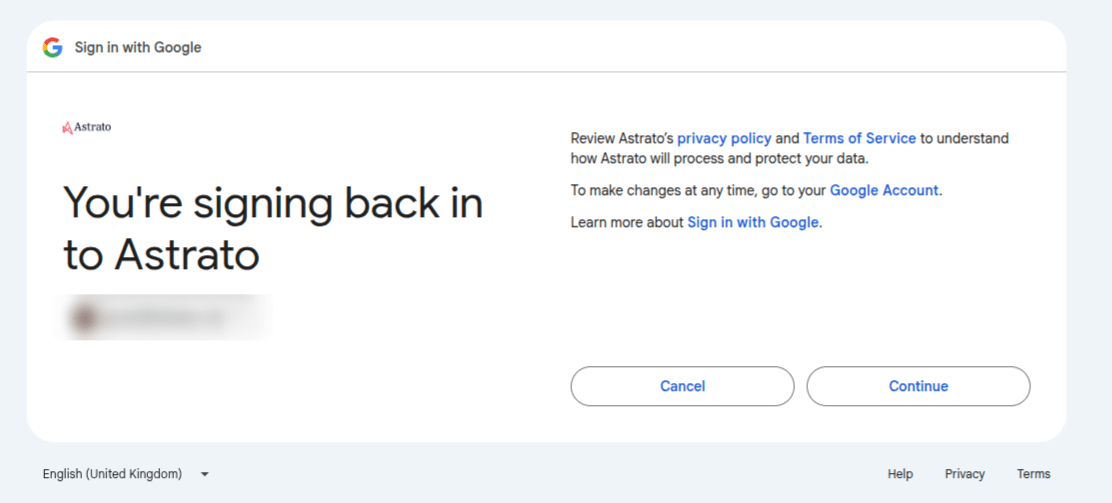
Otherwise, select Sign in. The Google authentication page opens in a new window; select the account you want to use, review the required permissions, and click Continue.
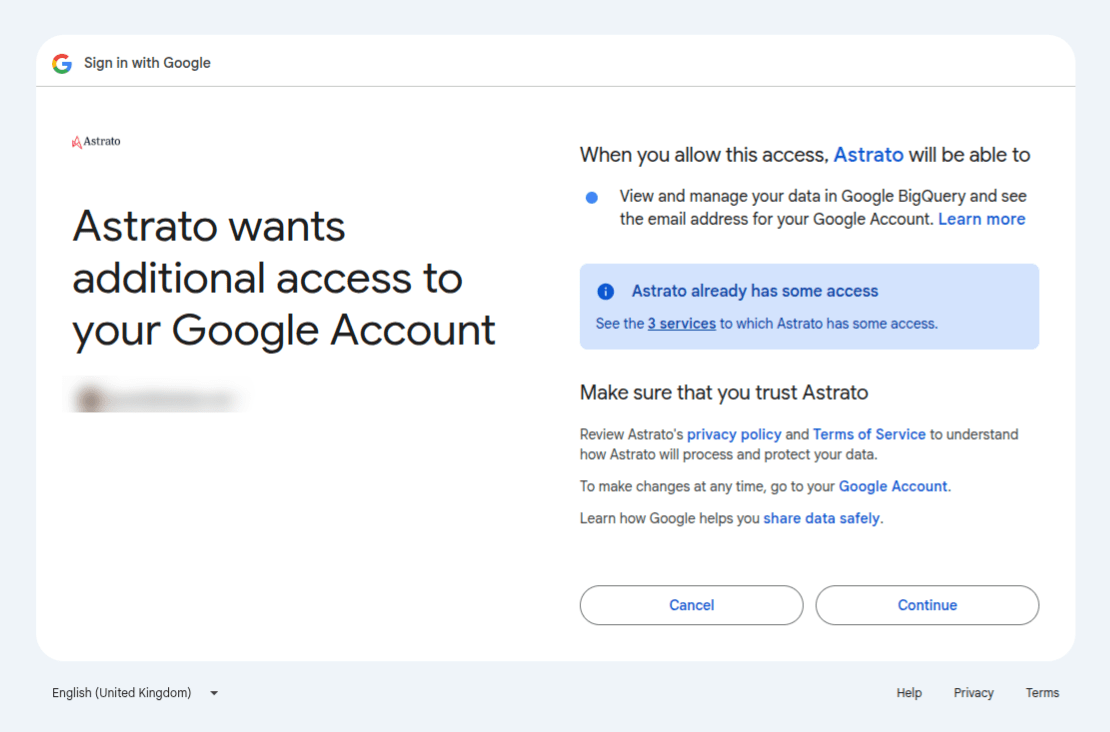
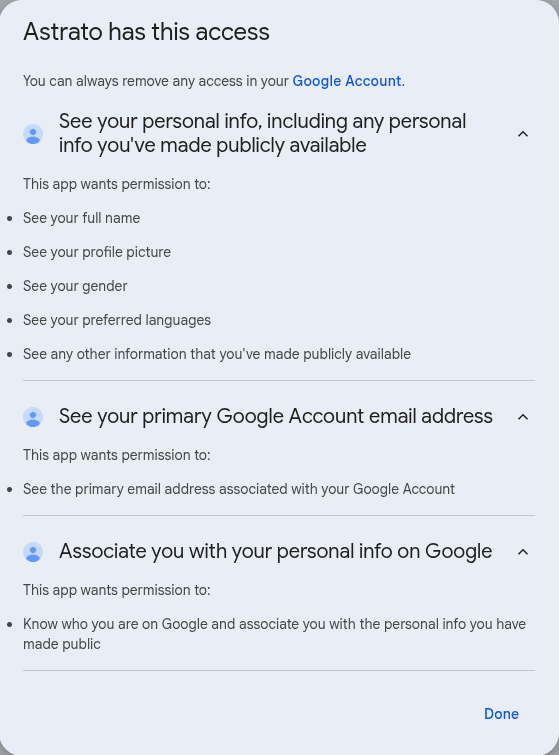
These are the 3 services to which Astrato has access.
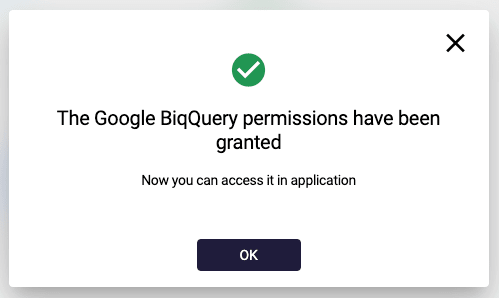
- While you sign in, the panel reads “Complete authorization in the sign-in window. This page will update automatically.” Once authorization succeeds, return to Astrato; there is nothing to confirm. Older versions of Astrato showed the confirmation dialog below instead.
OAuth - Enter data connection and project details
Section titled “OAuth - Enter data connection and project details”-
Under Connection details, choose a Project, then a Dataset from that project. Select a Deployment Region if your workspace offers one, then select Validate Connection.
-
Under Name, review the Connection name, then select Save connection. When the panel shows Connection created, select Finish.
The screenshot below shows the earlier version of this form, which used a Next button.
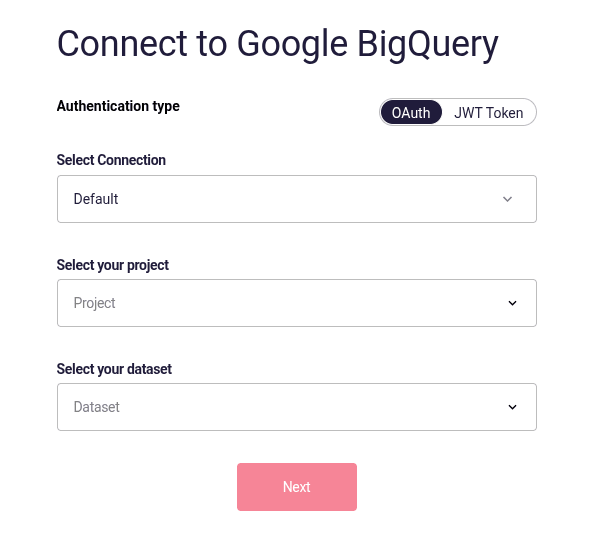
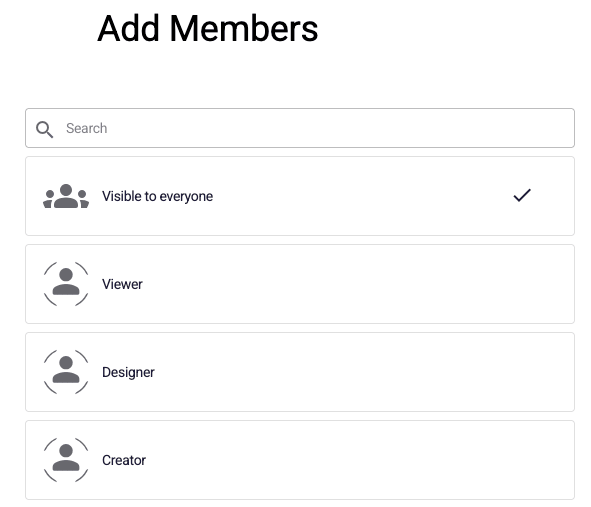
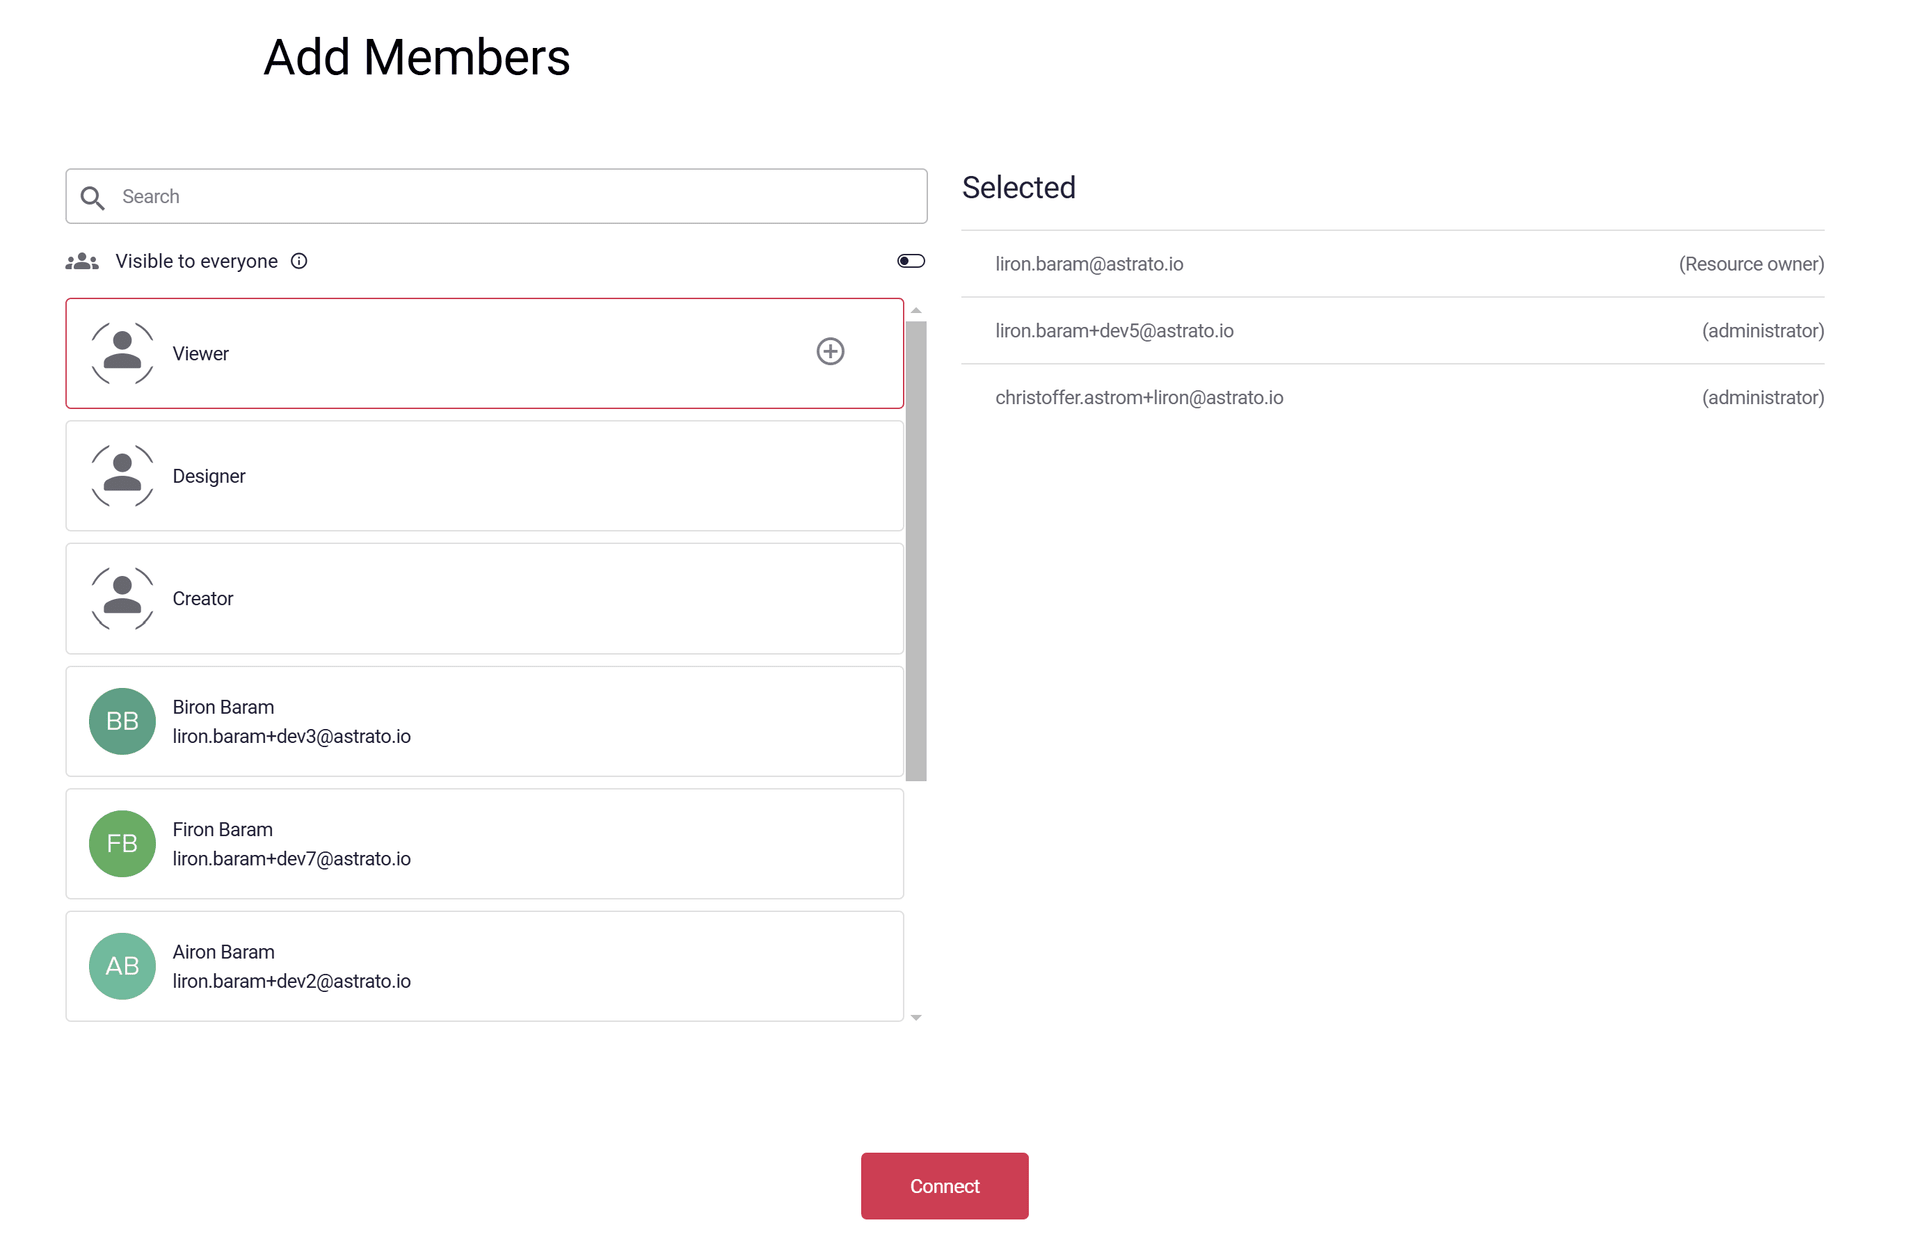
- The only thing to establish before you go to the Semantic Layer Editor in Astrato is to accept or modify access to the created data connection for Astrato users and/or groups. After Finish, the new connection’s properties open; use the Manage Access tab. The screenshot below shows the earlier Add Members dialog.
How create a JWT (a Service Account Key)
Section titled “How create a JWT (a Service Account Key)”With the JWT authentication method, a Google Cloud service account is used to authenticate and establish a secure connection to BigQuery.
The JWT method is recommended for server-to-server integrations, as it avoids manual user authentication and ensures reliable, automated access to your BigQuery datasets.
The service account key will be used by Astrato to establish the connection with Google BigQuery.
-
In the Google Cloud Console, go to IAM & Admin → Service Accounts.
-
Select the service account created in the previous step.
-
Navigate to the Keys tab, then click Add Key → Create New Key. Ensure the Key type is set to JSON.
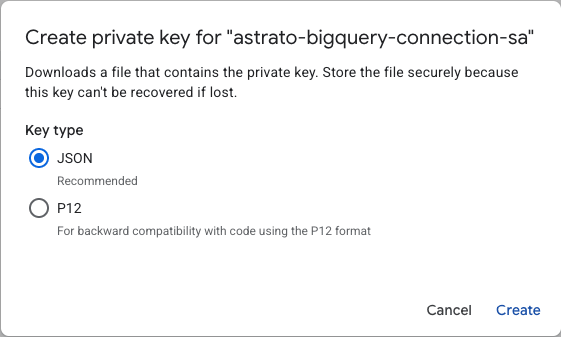
The key file will be generated and automatically downloaded to your computer. Store this file securely, as it will be required for the Astrato connection
JWT - Enter data connection details
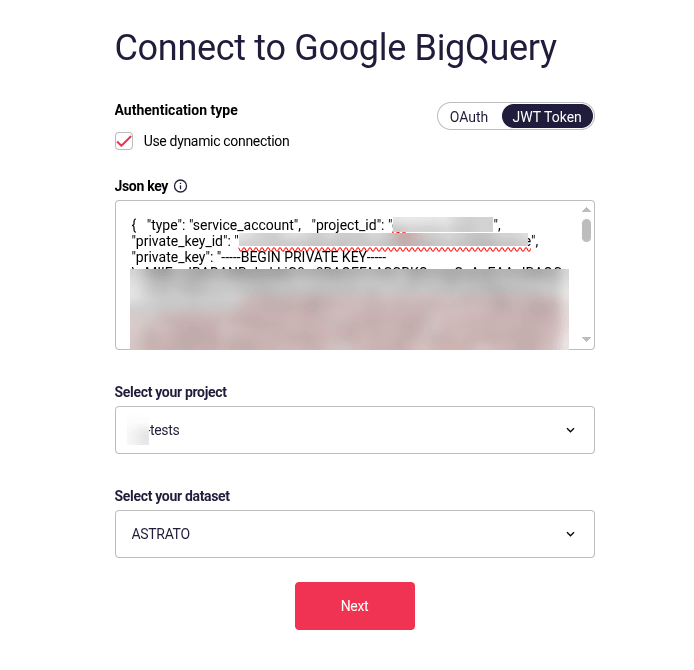
Section titled “JWT - Enter data connection details”- Once you’ve selected Google BigQuery, choose Service account under Authentication. The screenshots in this section show the earlier version of the form, where this option was called JWT Token.
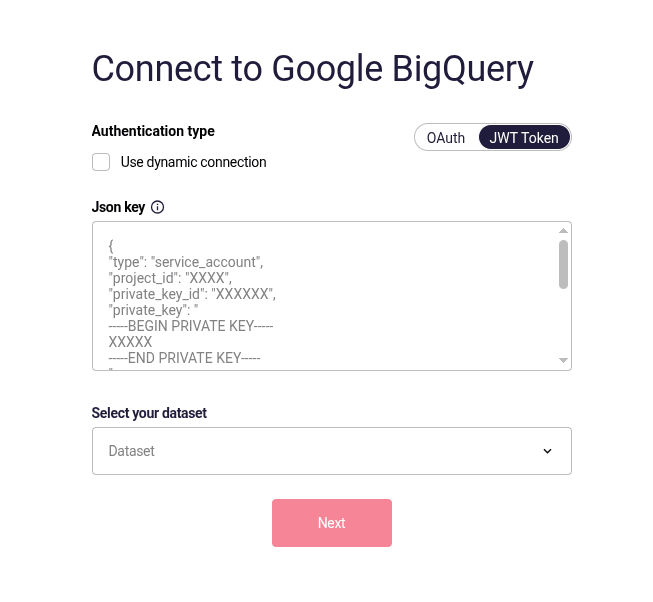
- Paste the contents of the JSON key file into Service account key. The key names its project, so there is no project to choose. Under Connection details, choose the Dataset, select a Deployment Region if your workspace offers one, then select Validate Connection.
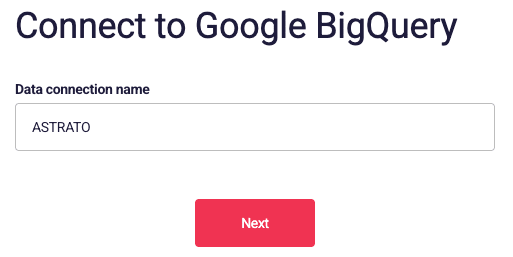
- Under Name, set the Connection name, then select Save connection. When the panel shows Connection created, select Finish.
- The only thing to establish before you go to the Semantic Layer Editor in Astrato is to accept or modify access to the created data connection for Astrato users and/or groups. After Finish, the new connection’s properties open; use the Manage Access tab. The screenshot below shows the earlier Add Members dialog.
JWT- Dynamic Data Connection
Section titled “JWT- Dynamic Data Connection”A dynamic data connection allows users to work on different projects using a single data model. This is especially useful when combined with embedded analytics for OEM solutions.
Setting up a dynamic data connection is similar to setting up a service account (JWT) connection. It is available with Service account authentication only; Sign in with Google BigQuery does not offer it. See Dynamic connections for how the settings work across sources. The screenshots below show the earlier version of these screens.
Follow these steps:
-
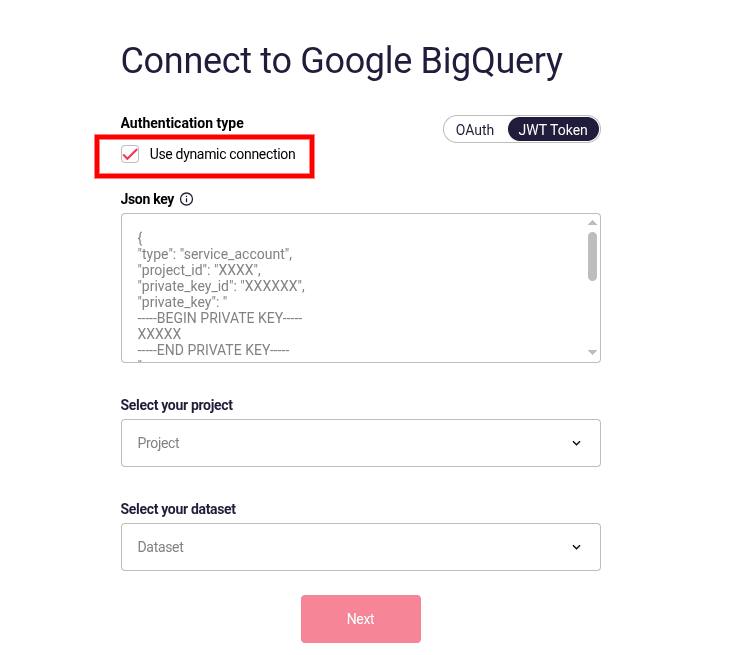
Create a new Google BigQuery connection, choose Service account under Authentication, and tick Use dynamic connection.
-
Paste the default JSON key into Service account key. The project it names is the default project, used to build the data model and define measures and dimensions.
-
Under Connection details, choose the Dataset. This part is not dynamic, and all users will use the same dataset.
-
-
Select Validate Connection.
-
Under Name, give the data connection a Connection name, then select Save connection.
-
-
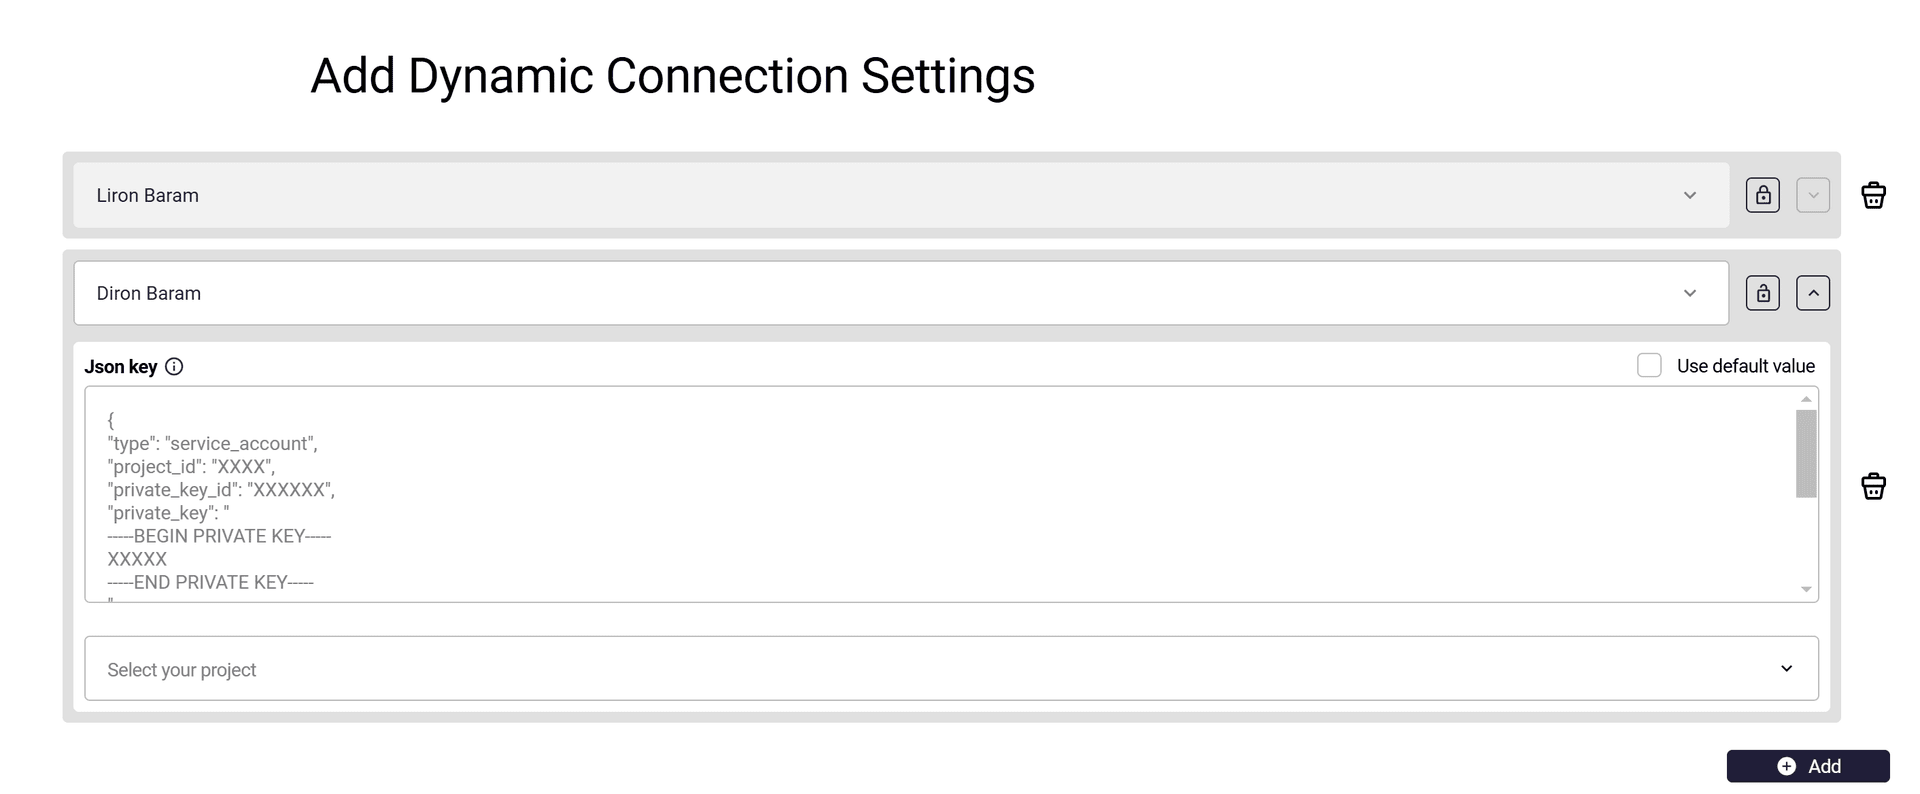
The panel shows Connection created with a Dynamic connection settings section. Select Add dynamic connection settings, search for and choose a User (who must be part of the Astrato tenant), and paste that user’s JSON key into Service account key. The Project is filled in from the key. Select Save user settings, and repeat for each user.
-
-
Select Finish. You can add or change user settings later from the connection’s Dynamic connection tab.
-
Define who has the right to use the connection, from the connection’s Manage Access tab.
-
Known Limitation
Section titled “Known Limitation”-
Only users who use the same JWT key and project as the defaults will be able to edit and see the data in the Semantic Layer Editor
-
The dynamic data connection is only used in published workbooks.
-
Users who aren’t defined in the dynamic connection table won’t be able to see data in the workbook.
Next steps > Using the Semantic Layer Editor …