

Connecting to Supabase
Introduction
Section titled “Introduction”In this article, we show you how to connect your Astrato workspace to Supabase.
It’s designed to be a quick process and easy to follow.
Creating the data connection to Supabase
Connection data required
Section titled “Connection data required”When setting up your data connection, you’ll need to know:
There are two options:
-
URL with this structure:
postgresql://user:[YOUR-PASSWORD]@host:5432/db.
You can obtain it from the Connect page in Supabase.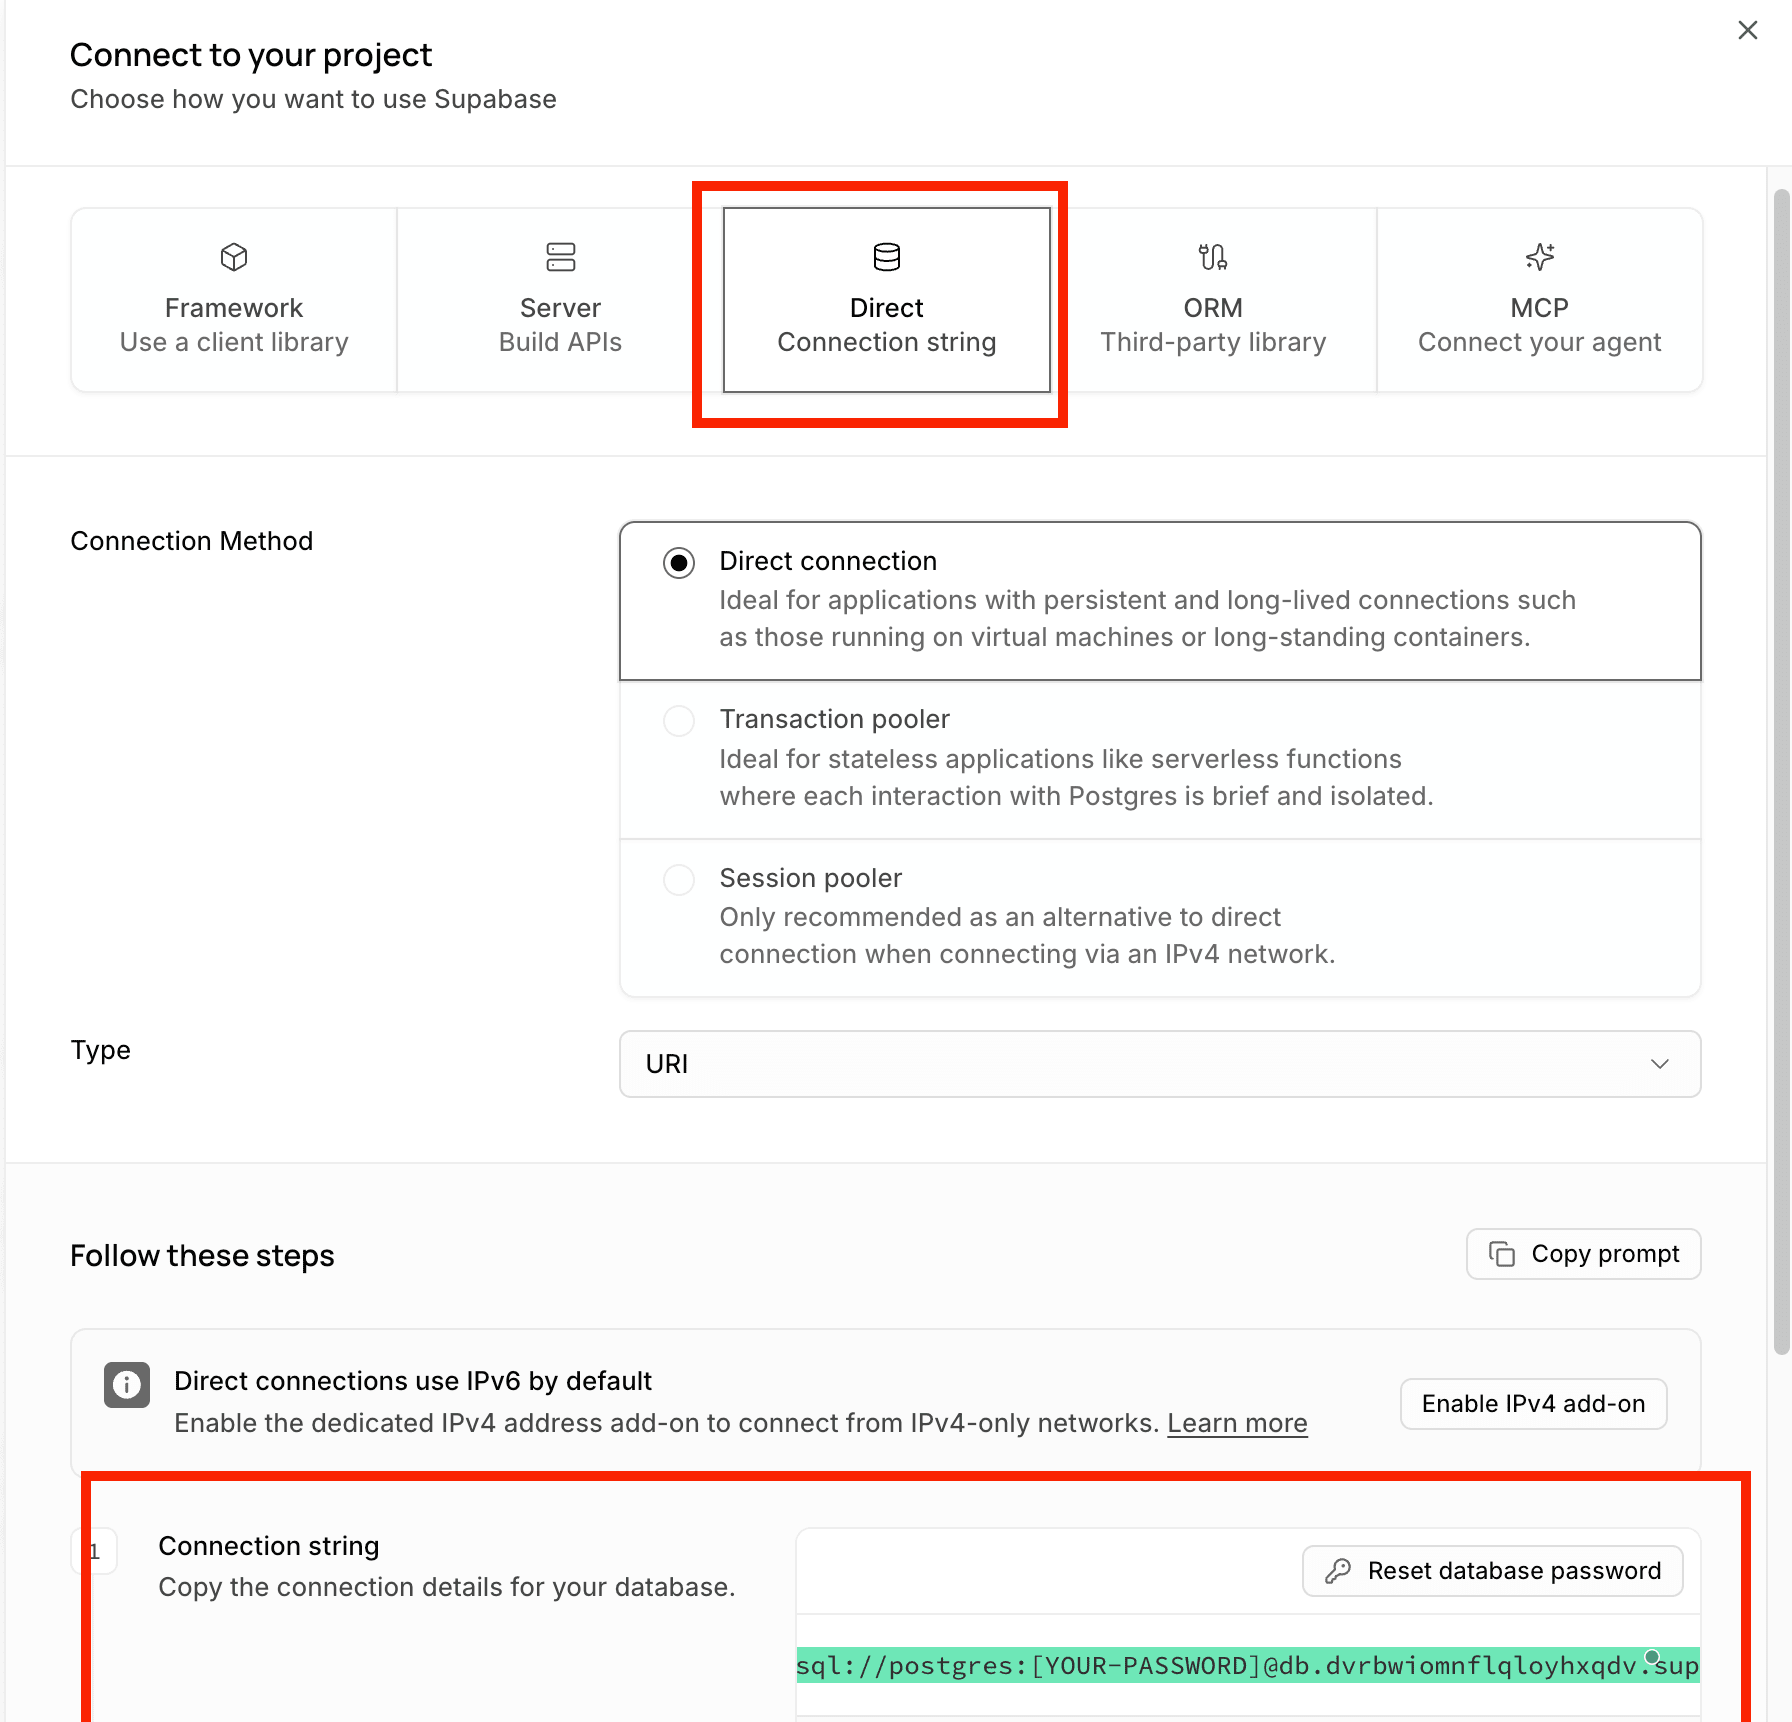
-
Manually filling the required information:
-
Data connection: Hostname, Port (usually 5432)
-
Database Credentials: Username, Password
-
SSL Credentials: SSL mode is set to ‘Disable’ by default; please amend as required to meet your organization’s security policy.
Cloud NAT IP addresses
prod-astrato-io-prod-nat-ip-0 34.142.11.11 prod-astrato-io-prod-nat-ip-1 34.142.68.232Creating the data connection to Supabase
Section titled “Creating the data connection to Supabase”-
Select Data in the sidebar
-
Select Data to open the Create New Data Source screen
-
Click on the Supabase icon
-
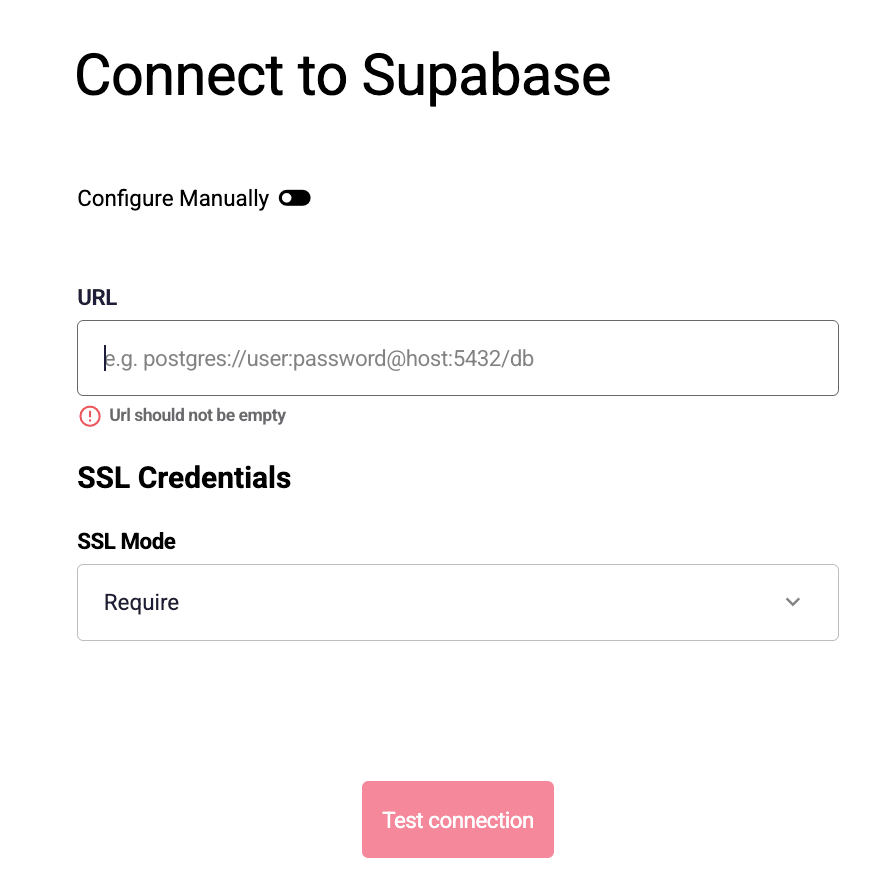
A dialogue box displays to connect to Supabase (Figure 1)
-
Complete the required fields in the connection dialogue box
-
Click Test Connection.
-
Once the authentication is completed, a new screen will be displayed
Select a database and name the data connection.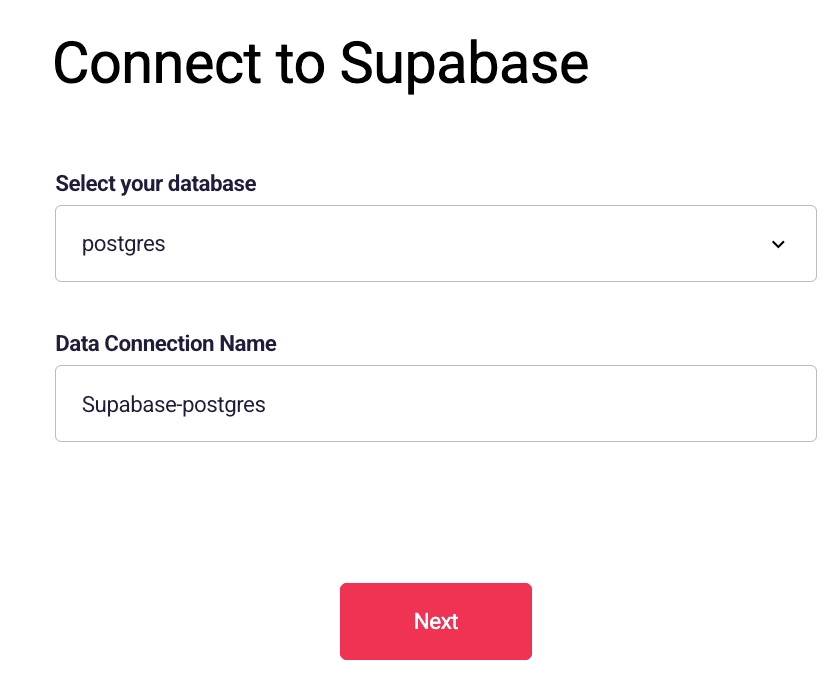
-
Click Next.
-
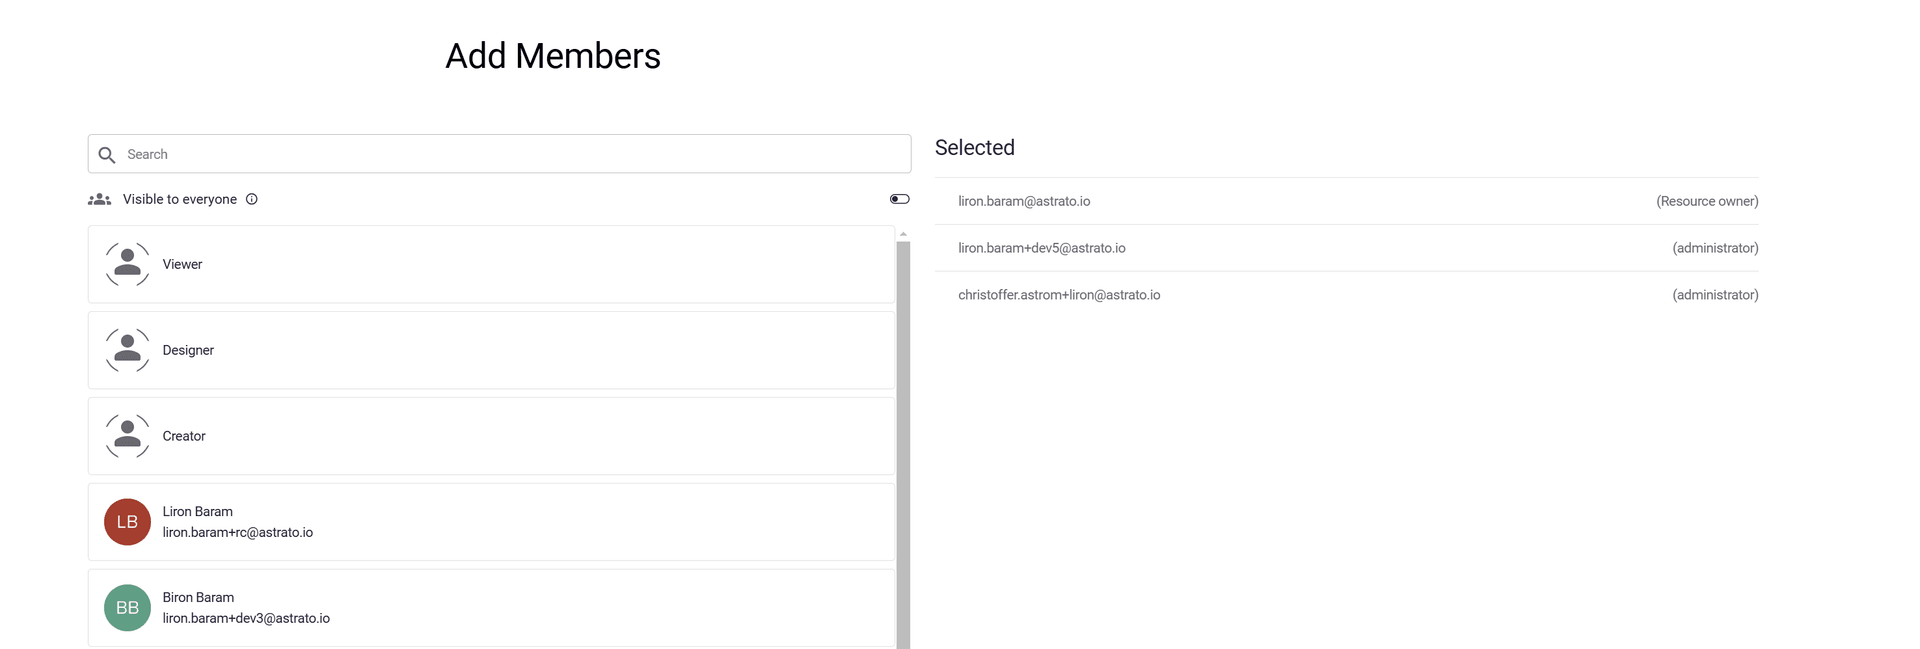
In the next screen, select who can use the data connection.
-
Click Connect.
-
If the connection is successful and the data source is created, the Semantic layer is opened
In the semantic layer, select the tables needed for the app.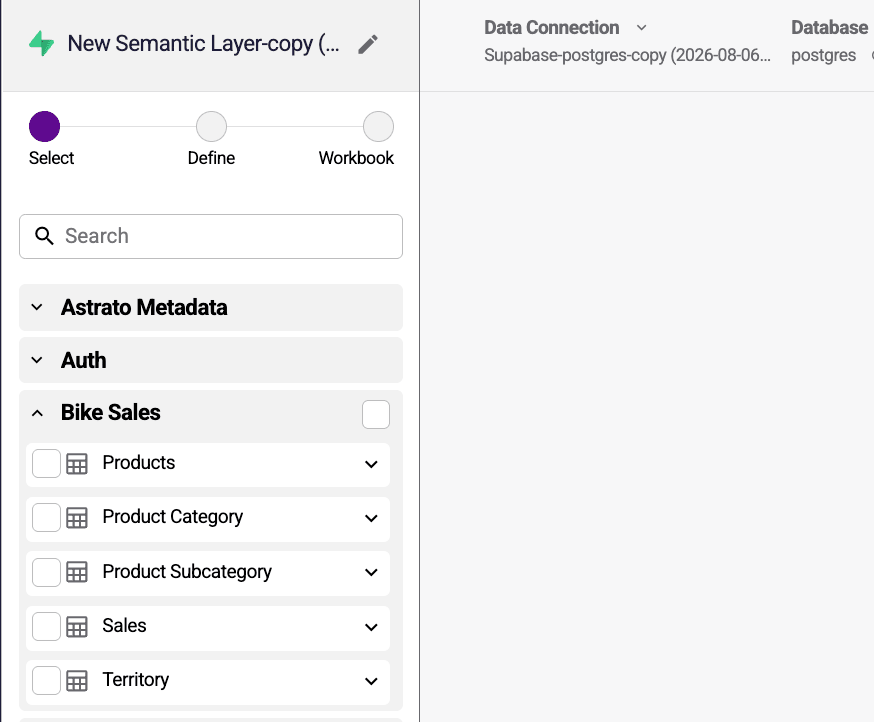
-
Later, you can create additional semantic layers that use the same data connection.